Custom CSS
The importance of personal branding for developers can not be overemphasized because of its ability to help developers build a distinct identity, access opportunities, and stand out in the developer community.
The Custom CSS feature on Hashnode enables you to override Hashnode default styling on your blog and make it fit into your personal brand. This means that you will not only enjoy Hashnode's developer-centric product for free but also maintain your personal branding effortlessly.
In this guide, you learn everything you need to know about the Custom CSS feature, how it works, and how to use it to style your Hashnode blog.
How to get access to the Custom CSS feature#
When we introduced the Hashnode Ambassador program, we included "Early Beta Access" as one of the privileges and perks of the program. The Custom CSS feature is in closed beta, and therefore only Hashnode Ambassadors can access it.
If you need access, consider becoming an ambassador by inviting a friend to use Hashnode. 😃
Standard CSS .class selectors#
Here's a list of recommended CSS .class selectors that you should target when you want to use our Custom CSS feature to style your Hashnode blog. We don't recommend targeting classes that are not on this list.
Rules#
We review all the custom CSS applied to Hashnode blogs periodically. So, ensure you don't violate any of these rules.
- Do not hide Hashnode's user profile photo present in the header.
- Do not hide the Hashnode logo and CTA at the footer of your blog.
- Do not disable Hashnode's in-built features (example: reactions, bookmarks, etc.).
- Apply only cosmetic changes to your blog.
- Always test your blog's mobile responsiveness before publishing the new styles.
- Ensure that your CSS rules are under 10kb.
How to enable the Custom CSS feature#
The Custom CSS feature isn't enabled by default on Hashnode. Follow the steps below to enable it on your blog:
- Go to your blog's dashboard and click on the Appearance tab.
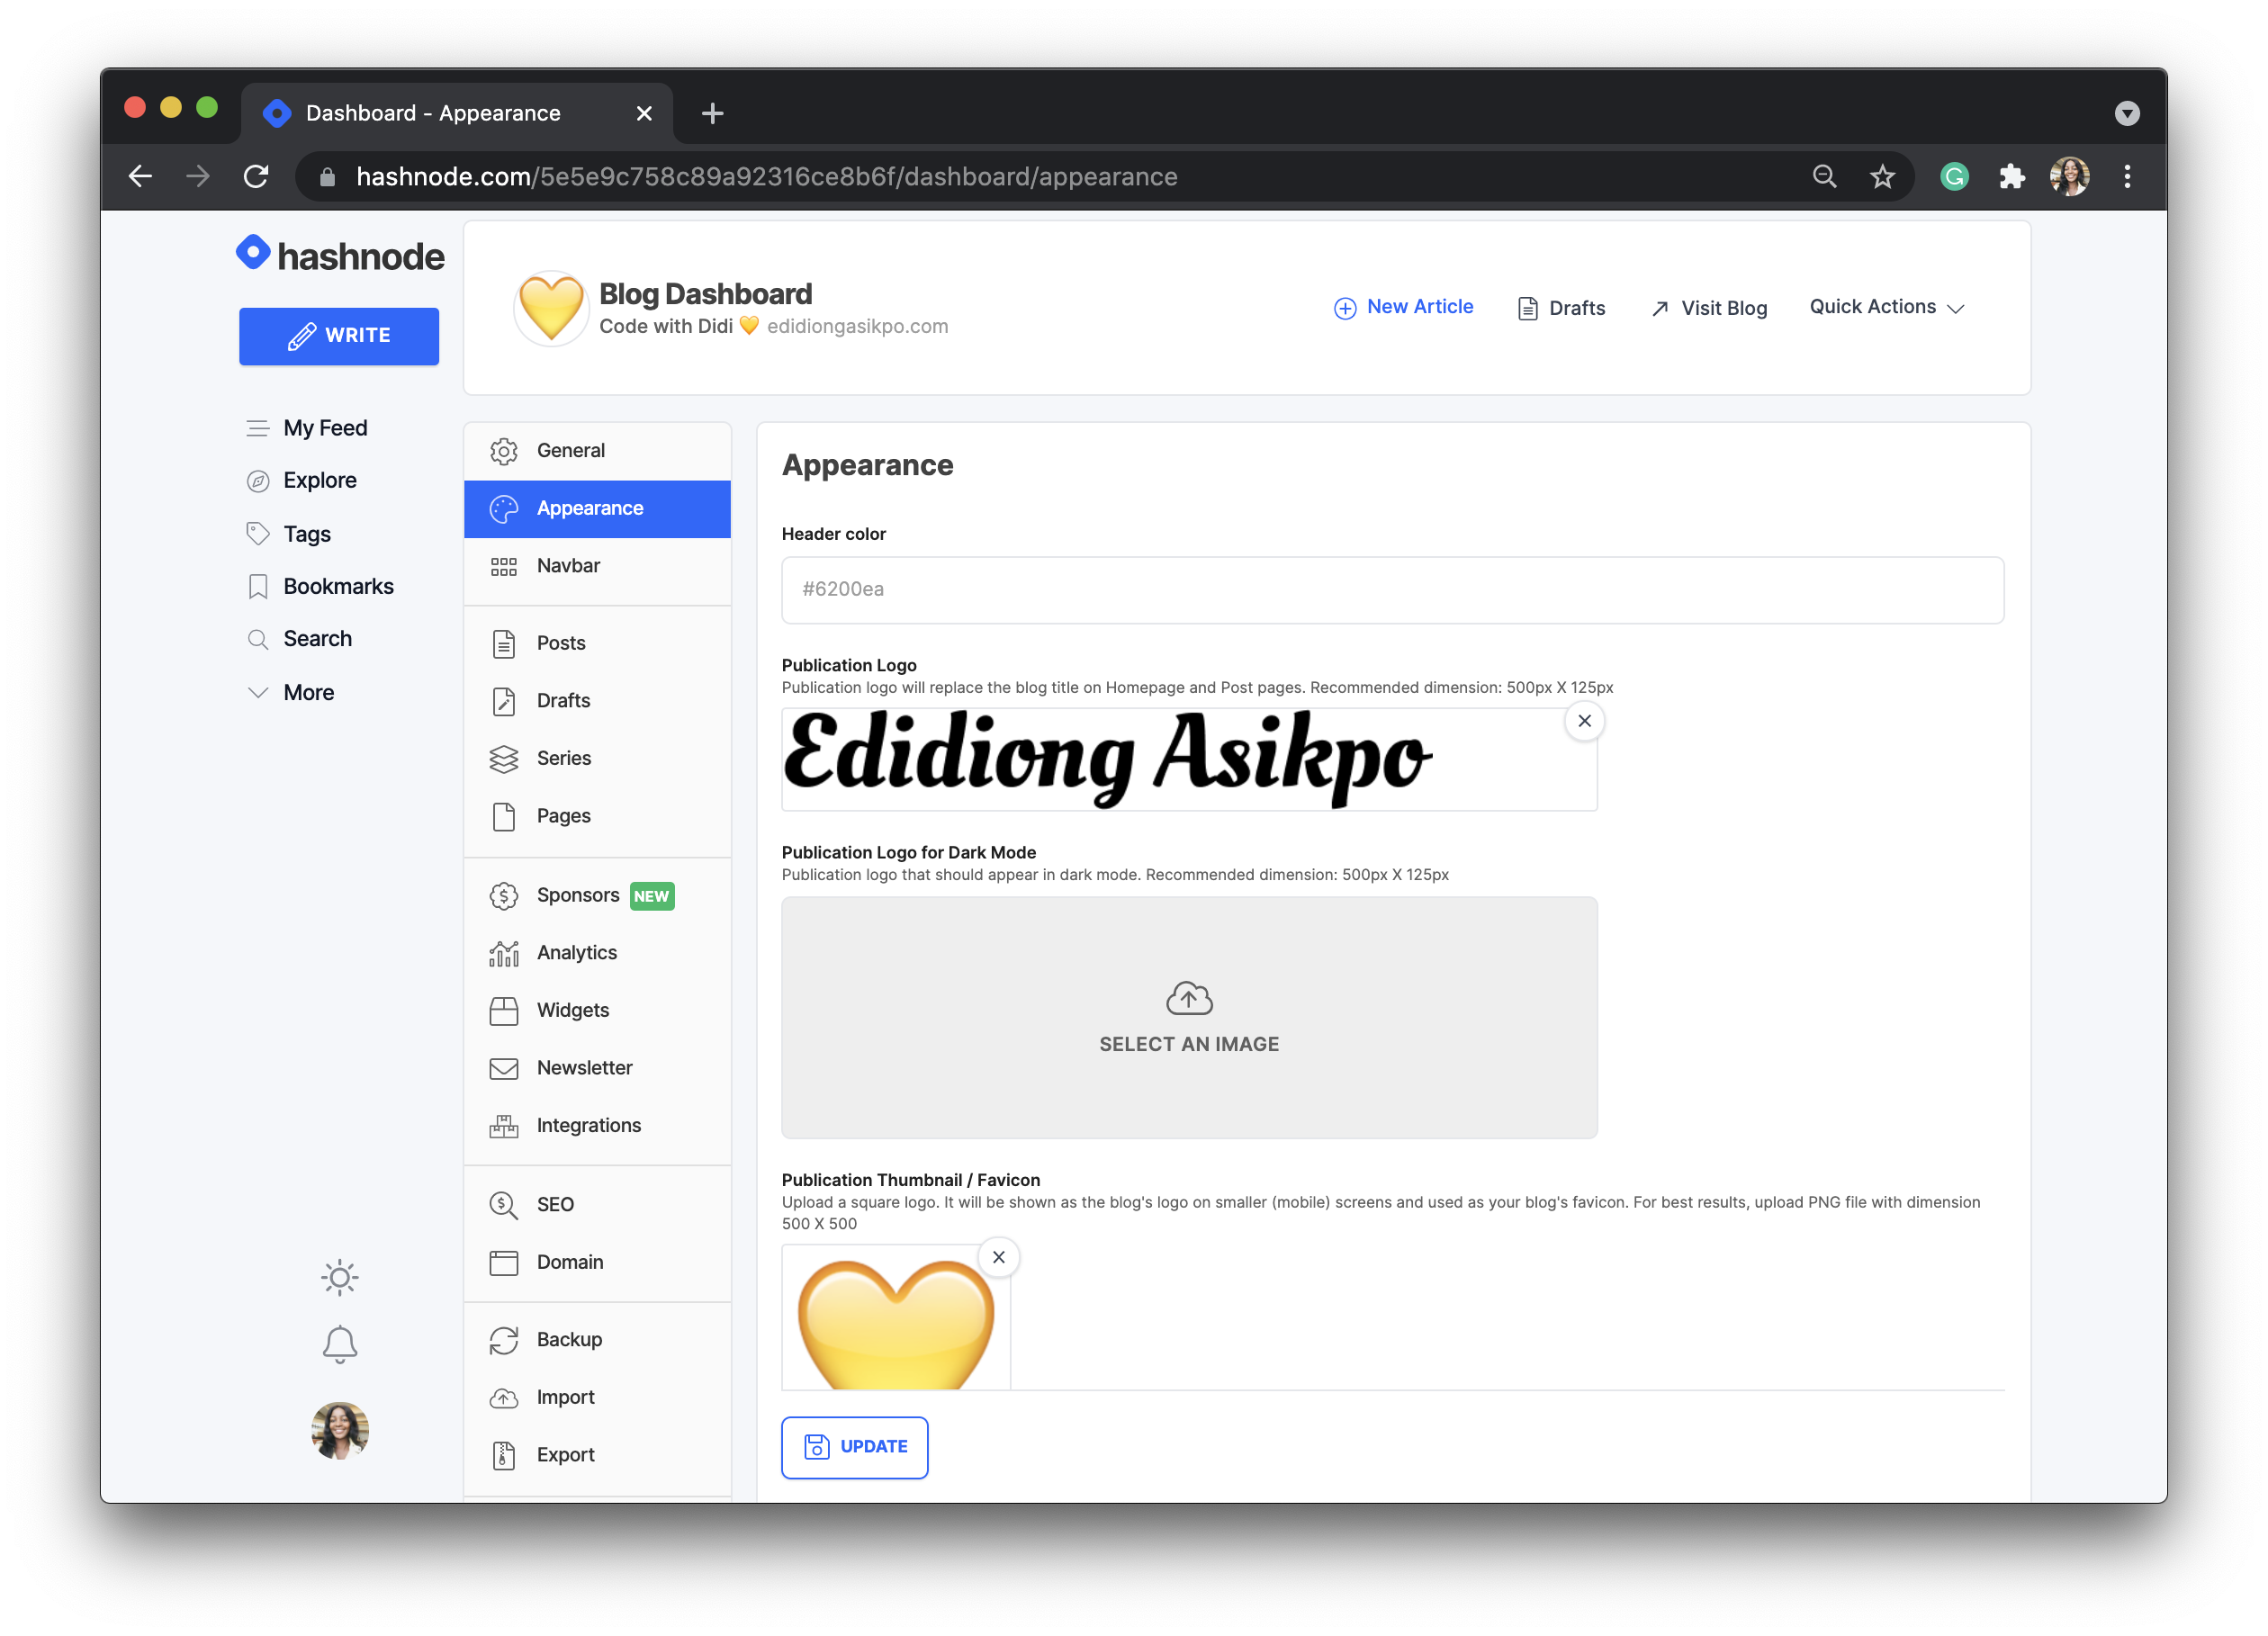
- Scroll to the bottom of the Appearance page and click on the Toggle button to enable the Custom CSS feature on your blog.

- Finally, click on Update to save your changes.
- After enabling the Custom CSS feature on my blog, you'd have to click on the Add Custom CSS link (see image above) to access the CSS Editor (see image below).
 .
.
Think of this editor as your normal text editor for coding. This is where you will write the CSS code for your Hashnode blog.
How to customize your Hashnode blog using Custom CSS#
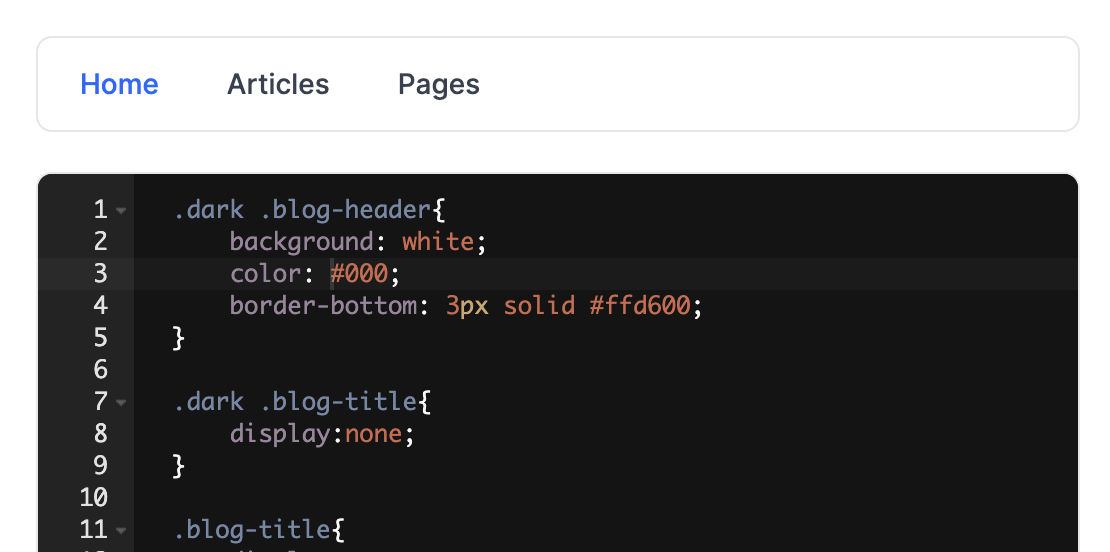
As seen in the image above, the CSS editor is divided into three parts to enable you to customize your blog's homepage, article(s), and the static page(s), respectively.
- To customize your blog's homepage, click on the Home tab and add your CSS rules.
- To customize your articles, click on the Articles tab and add your CSS rules.
- To customize your static pages, click on the Pages tab and add your CSS rules.
After adding the CSS rules to the editor, you'd have to either save, preview, reset or publish your changes. Here's an overview of each of them:
- Save Styles: This will save the CSS rules without applying them to your blog.
- Preview: This will let you see the Custom CSS in action without publishing them. You have to click on the Save Styles button before clicking on Preview.
- Reset: This will revert the CSS rules in the editor to the last published state.
- Publish: This will push your changes to your blog. So, when you are comfortable with the new styles you've added, click on Publish.
Overriding dark mode styles#
To override dark mode styles, use the class .dark along with other element specific classes. For example: