Add Hashnode Blog on Google Search Console
If you have just created a blog with Hashnode, here are some important tips for you. These tips are applicable for everyone, irrespective of which URL you chose for your Hashnode Blog, custom domain or hashnode.dev subdomain.
Tell Google about your new blogging destination#
Before you think about ranking on a certain keyword and getting link backs from high traffic fetching websites, you need to inform Google that your domain exists.
One of the simplest and easiest ways to inform Google about your blog is by submitting your website on Google's Search Console. If you are a frequent blogger, chances are you are aware of how it works.
Here are the steps to submit your blog to Google's Search Console:
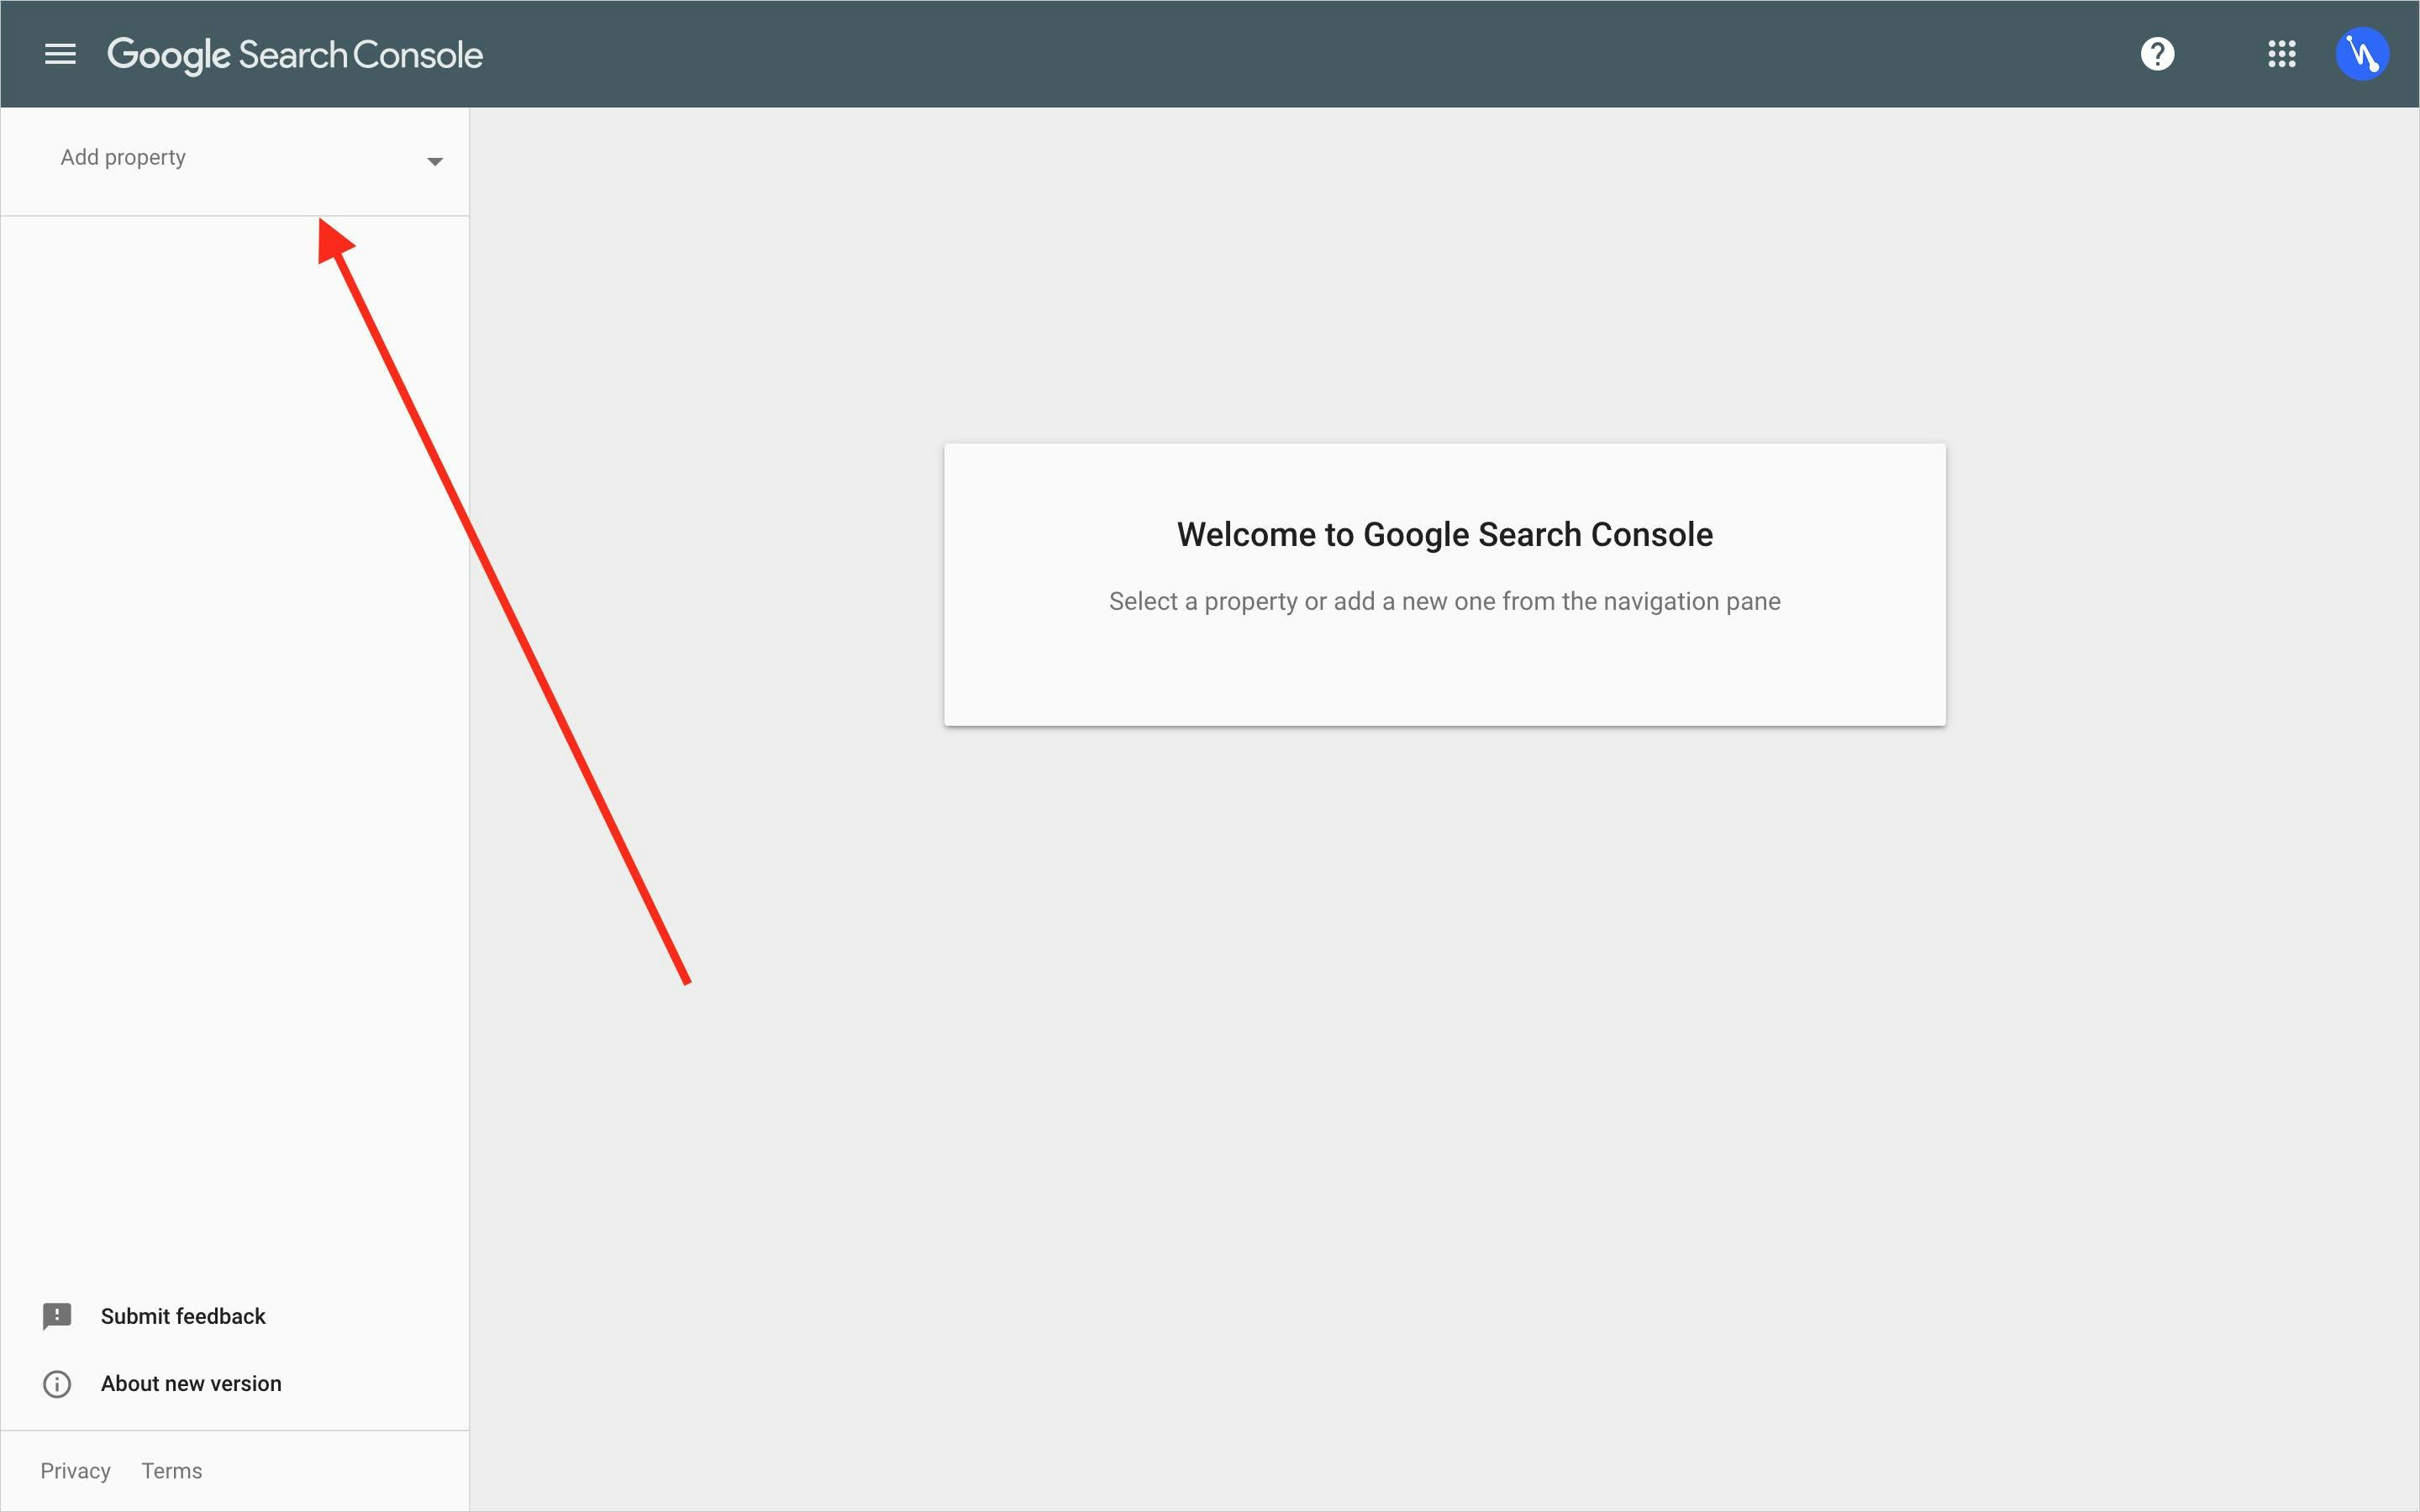
Log in with your Google account on Google's Search Console.
Click on "Add Property"
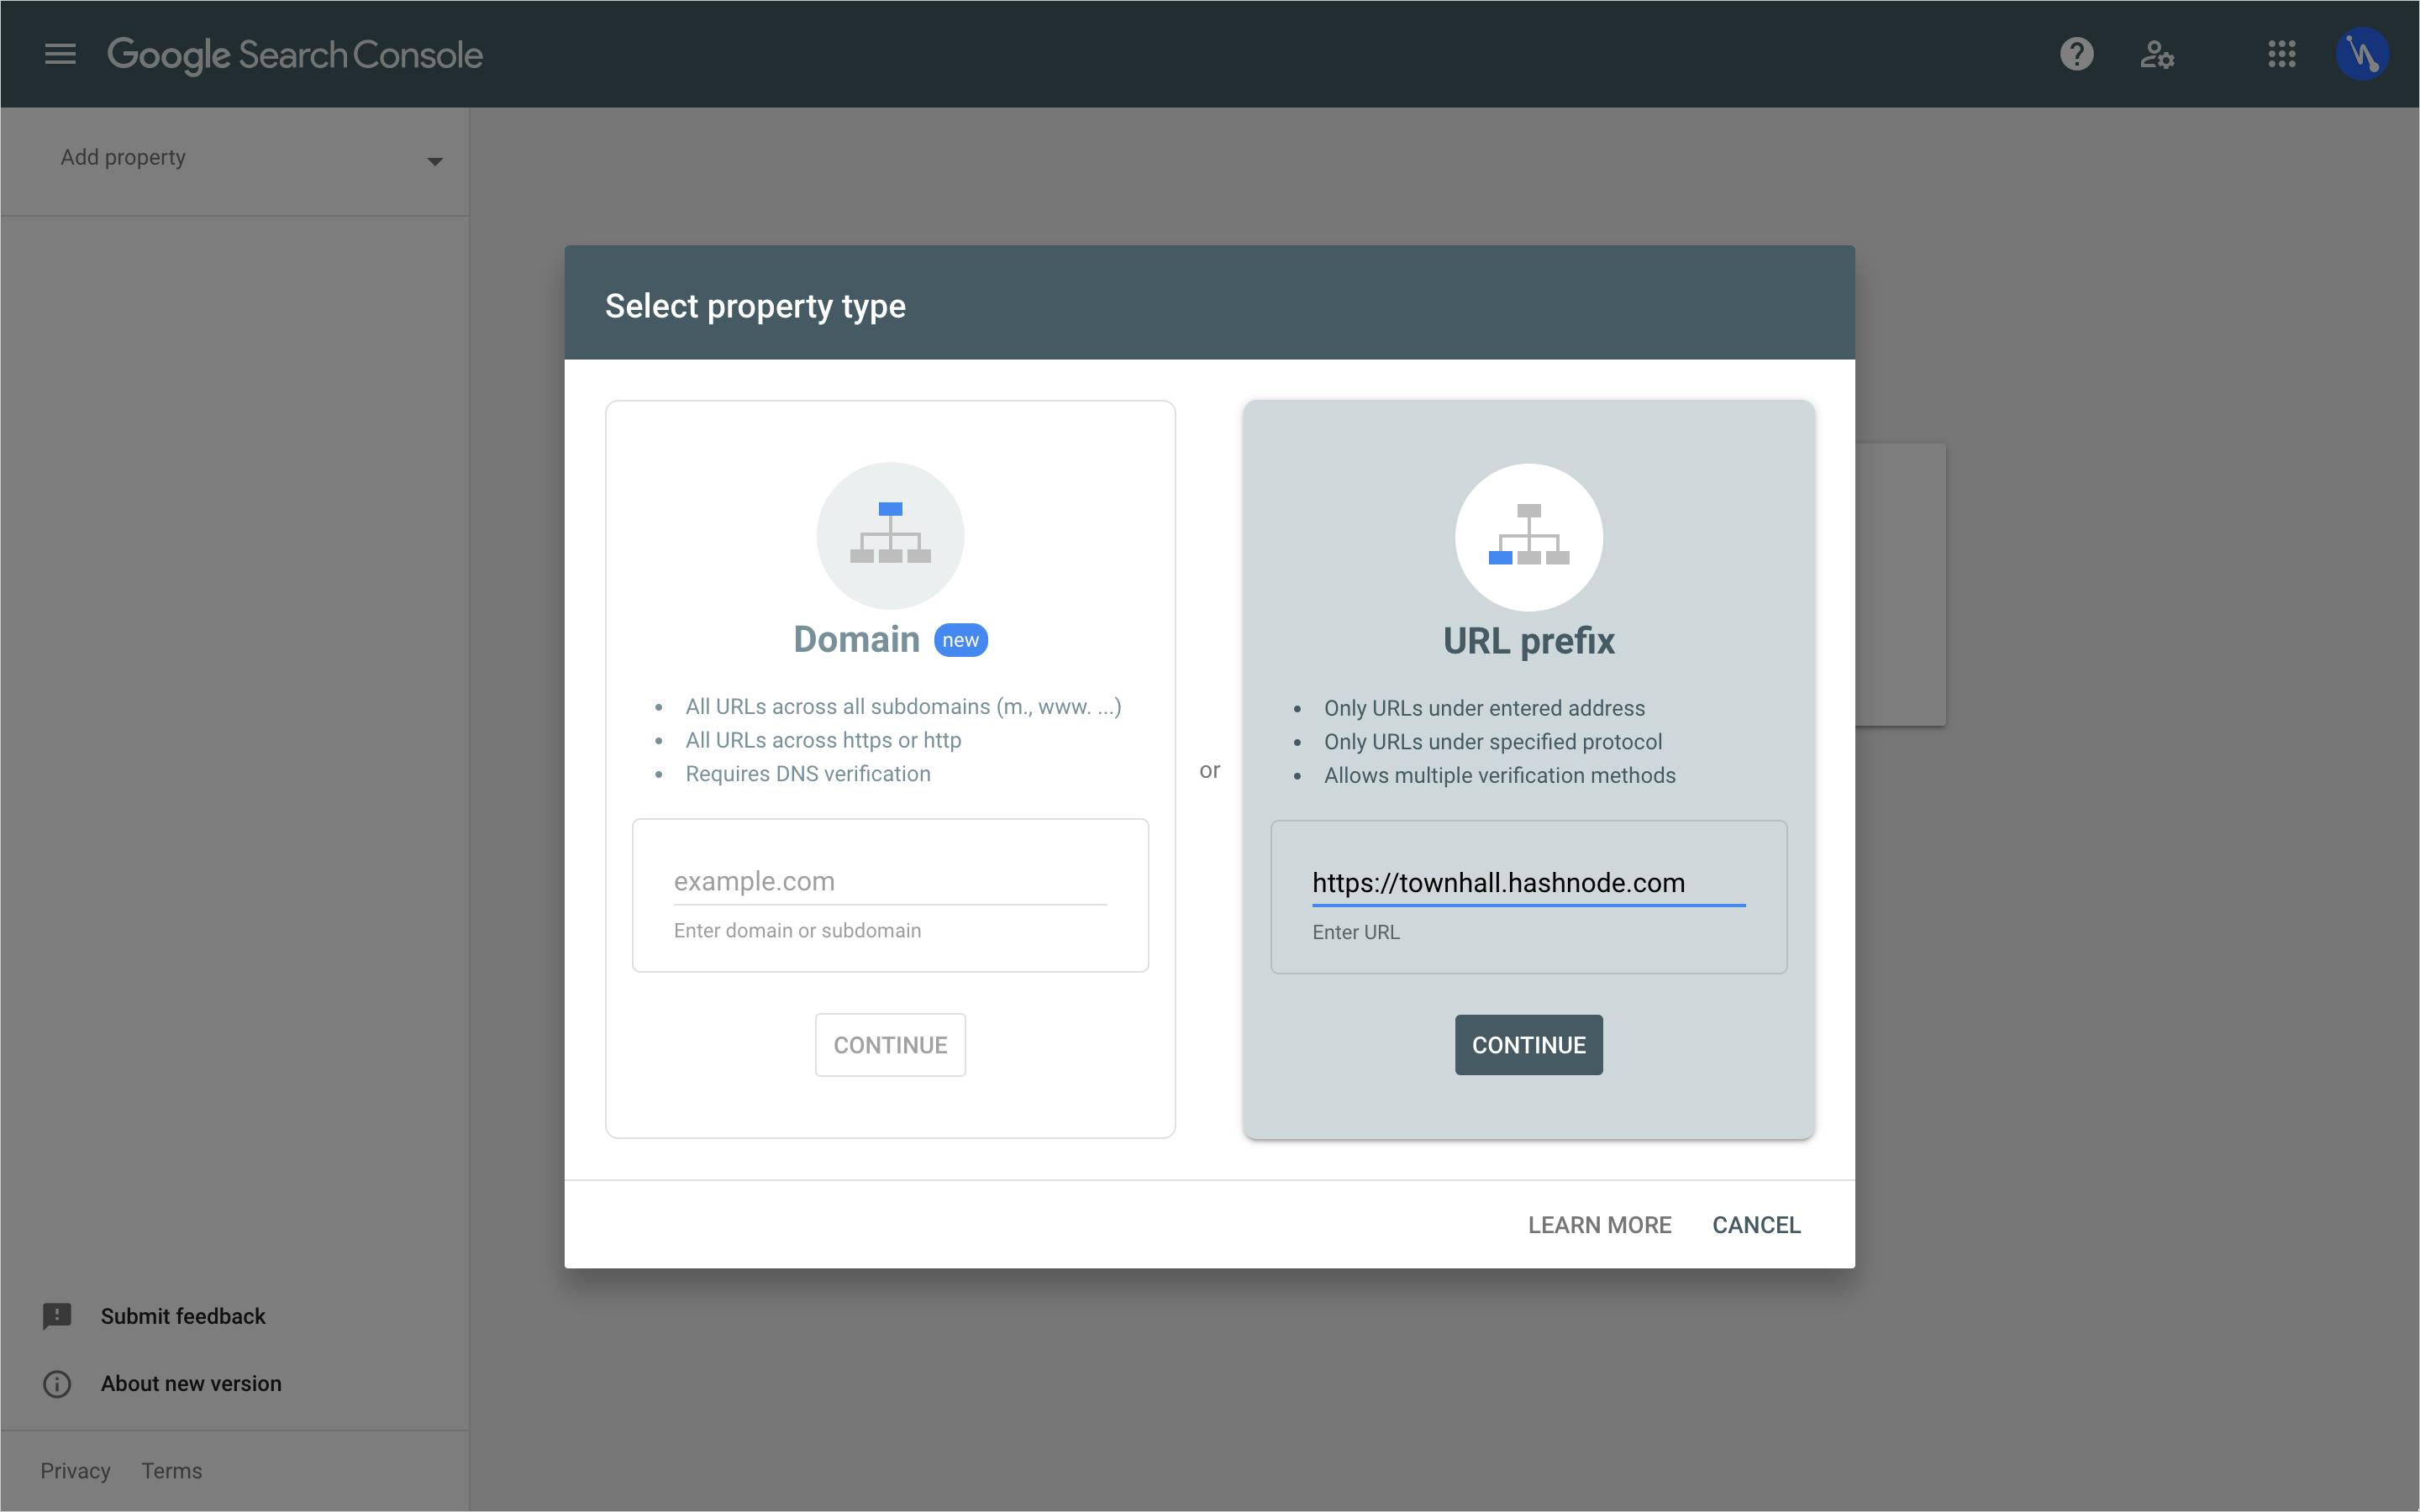
- Enter the name of the domain under the "URL prefix" property type section and click on "Continue."
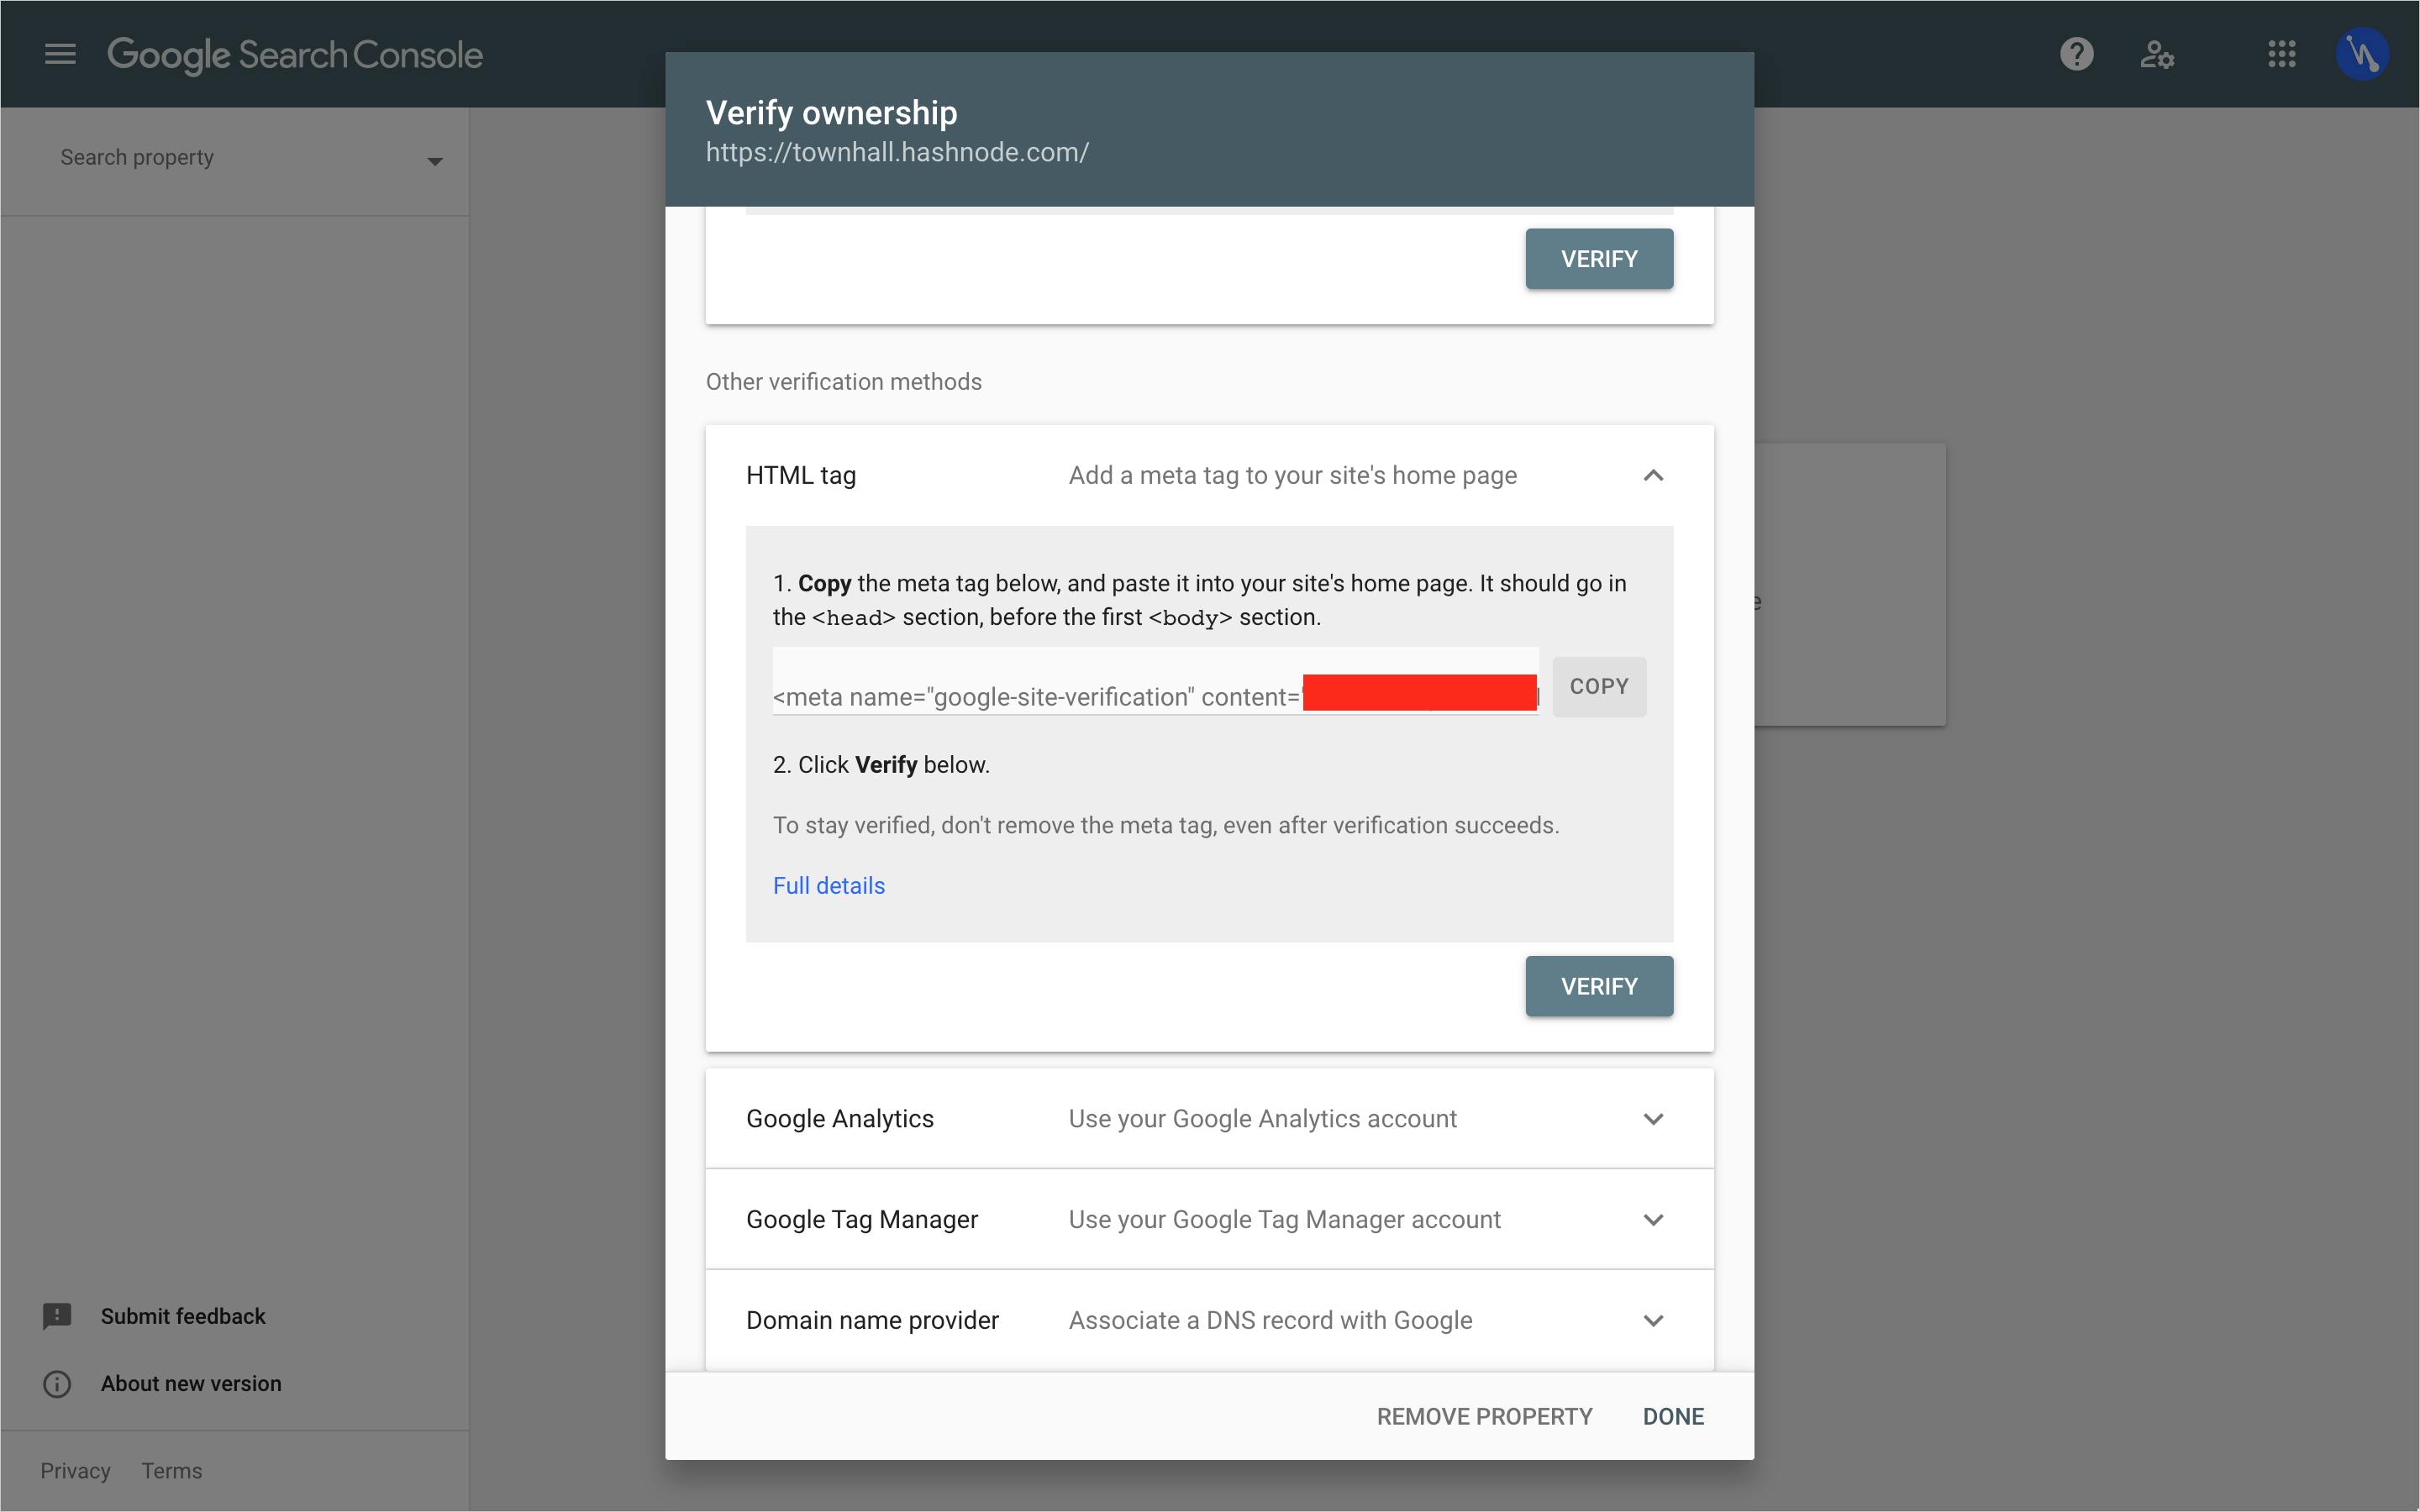
- Expand the "HTML tag" tab.
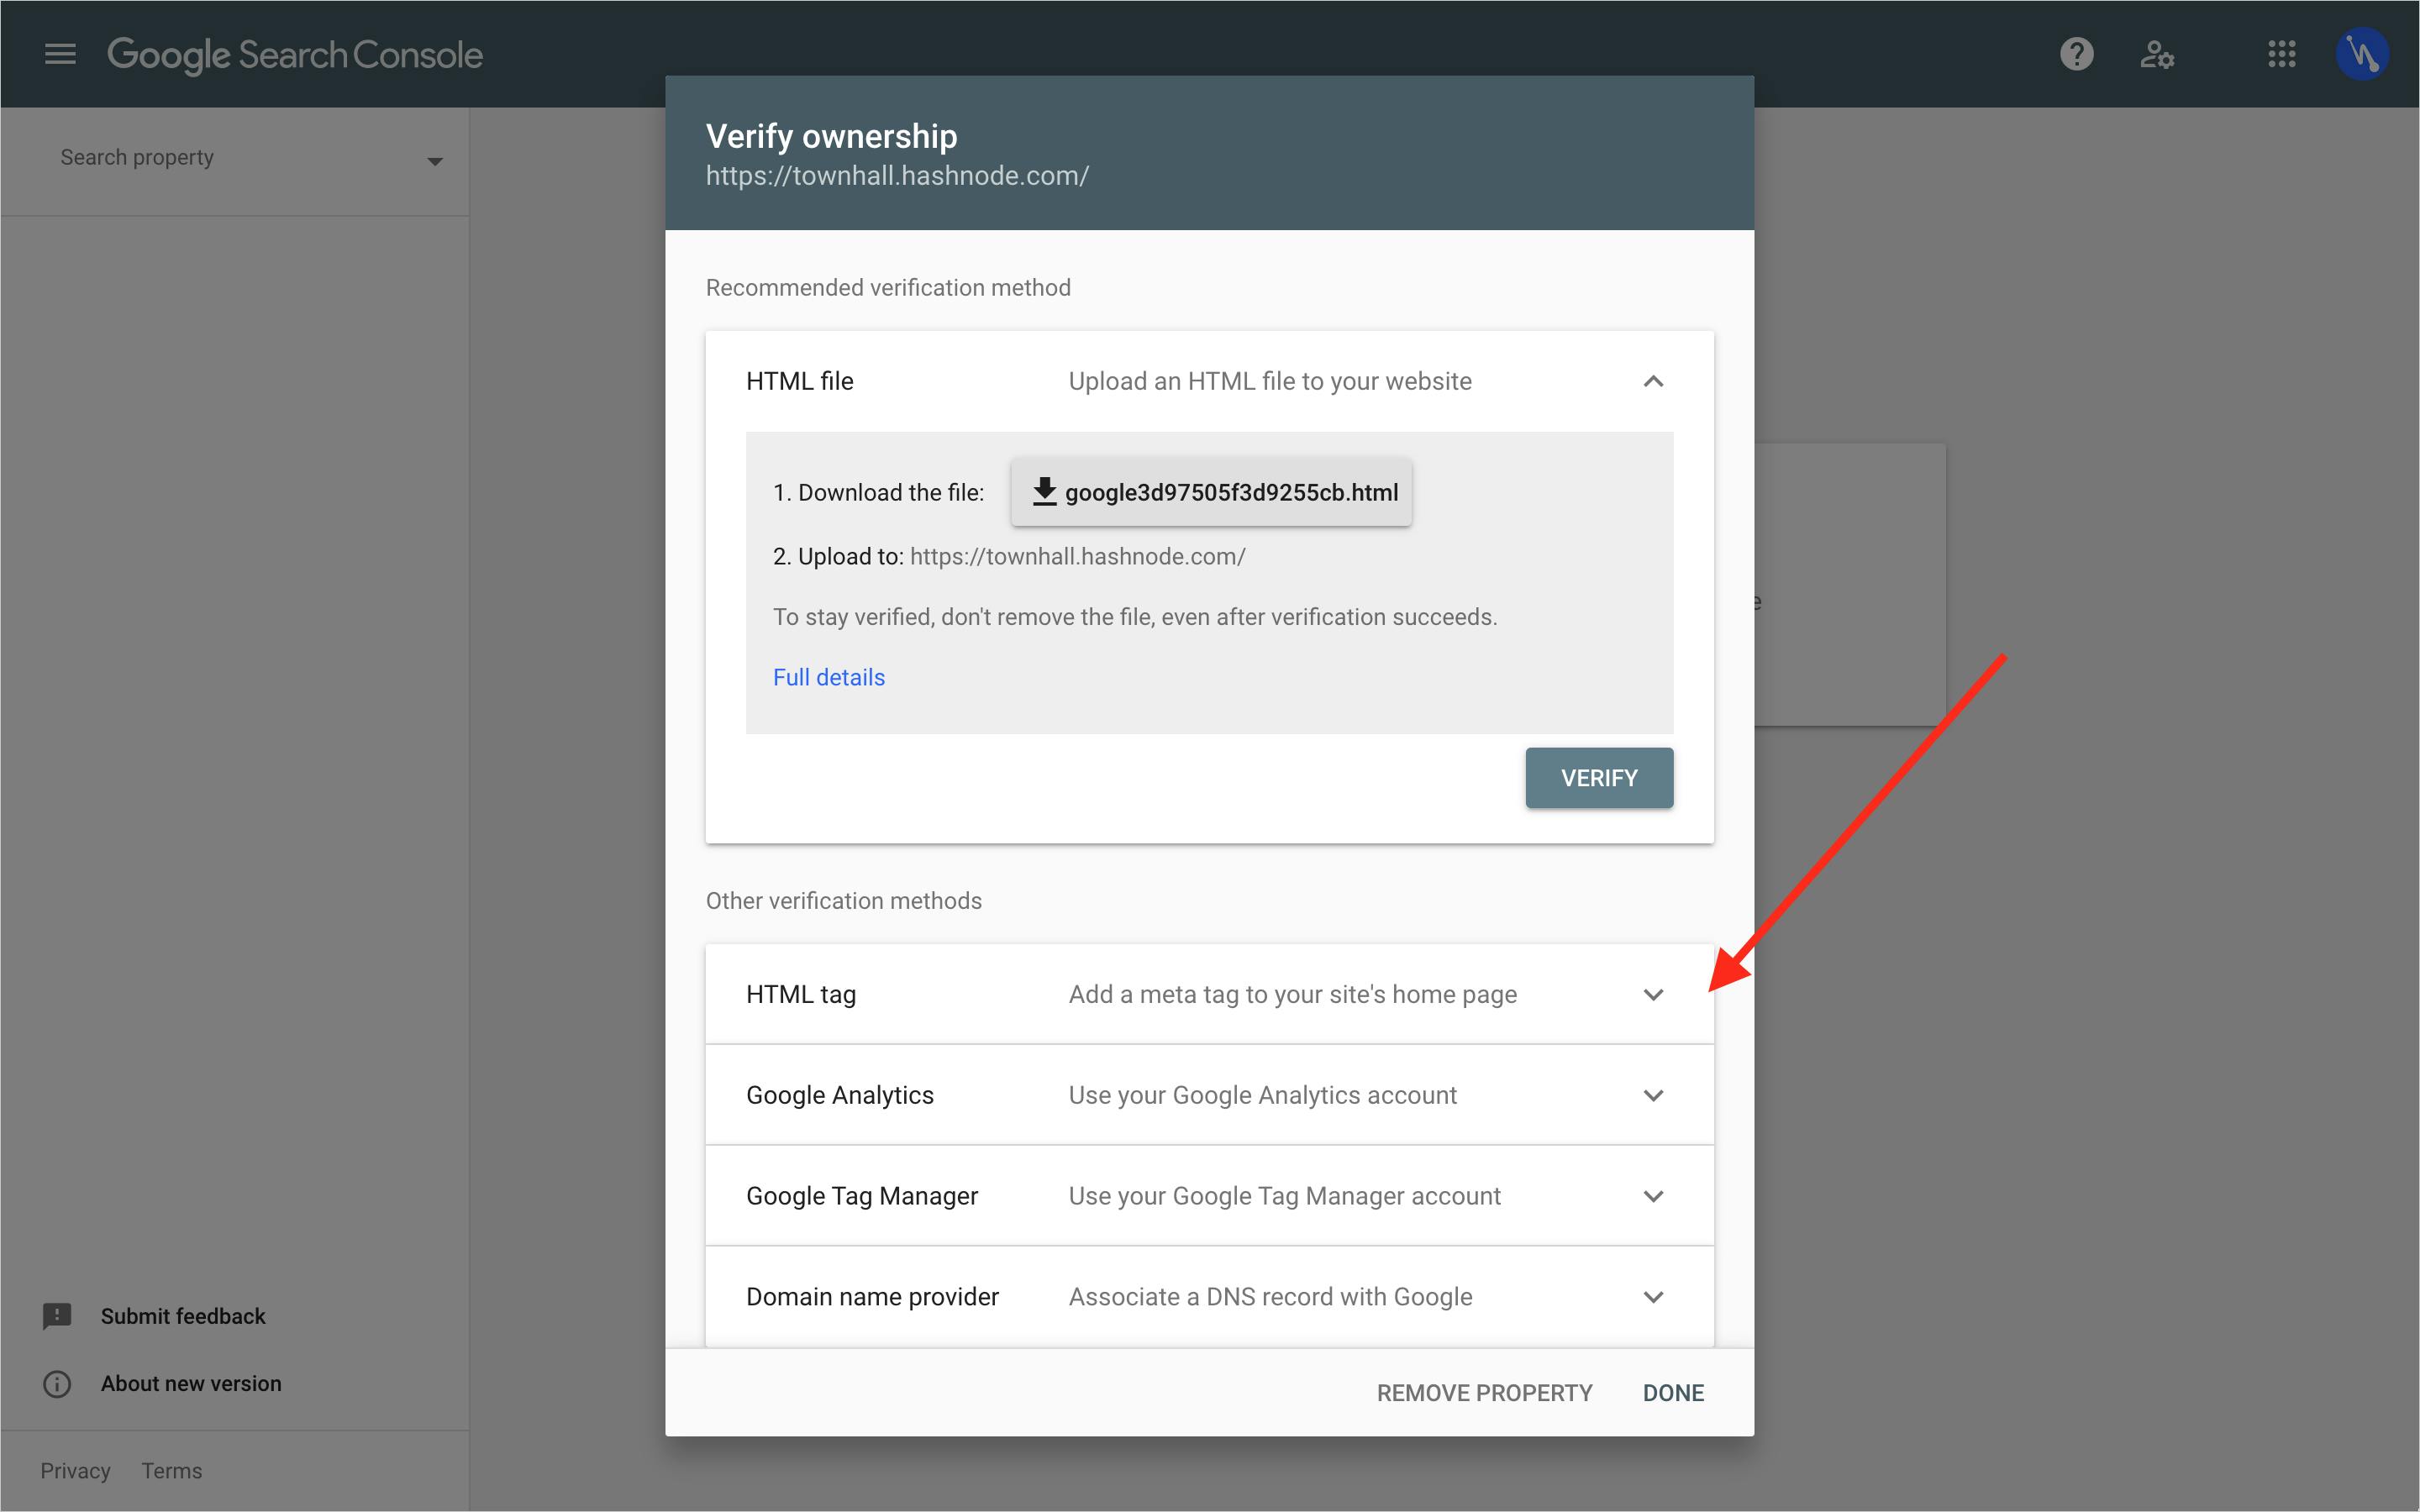
- Copy the HTML tag.
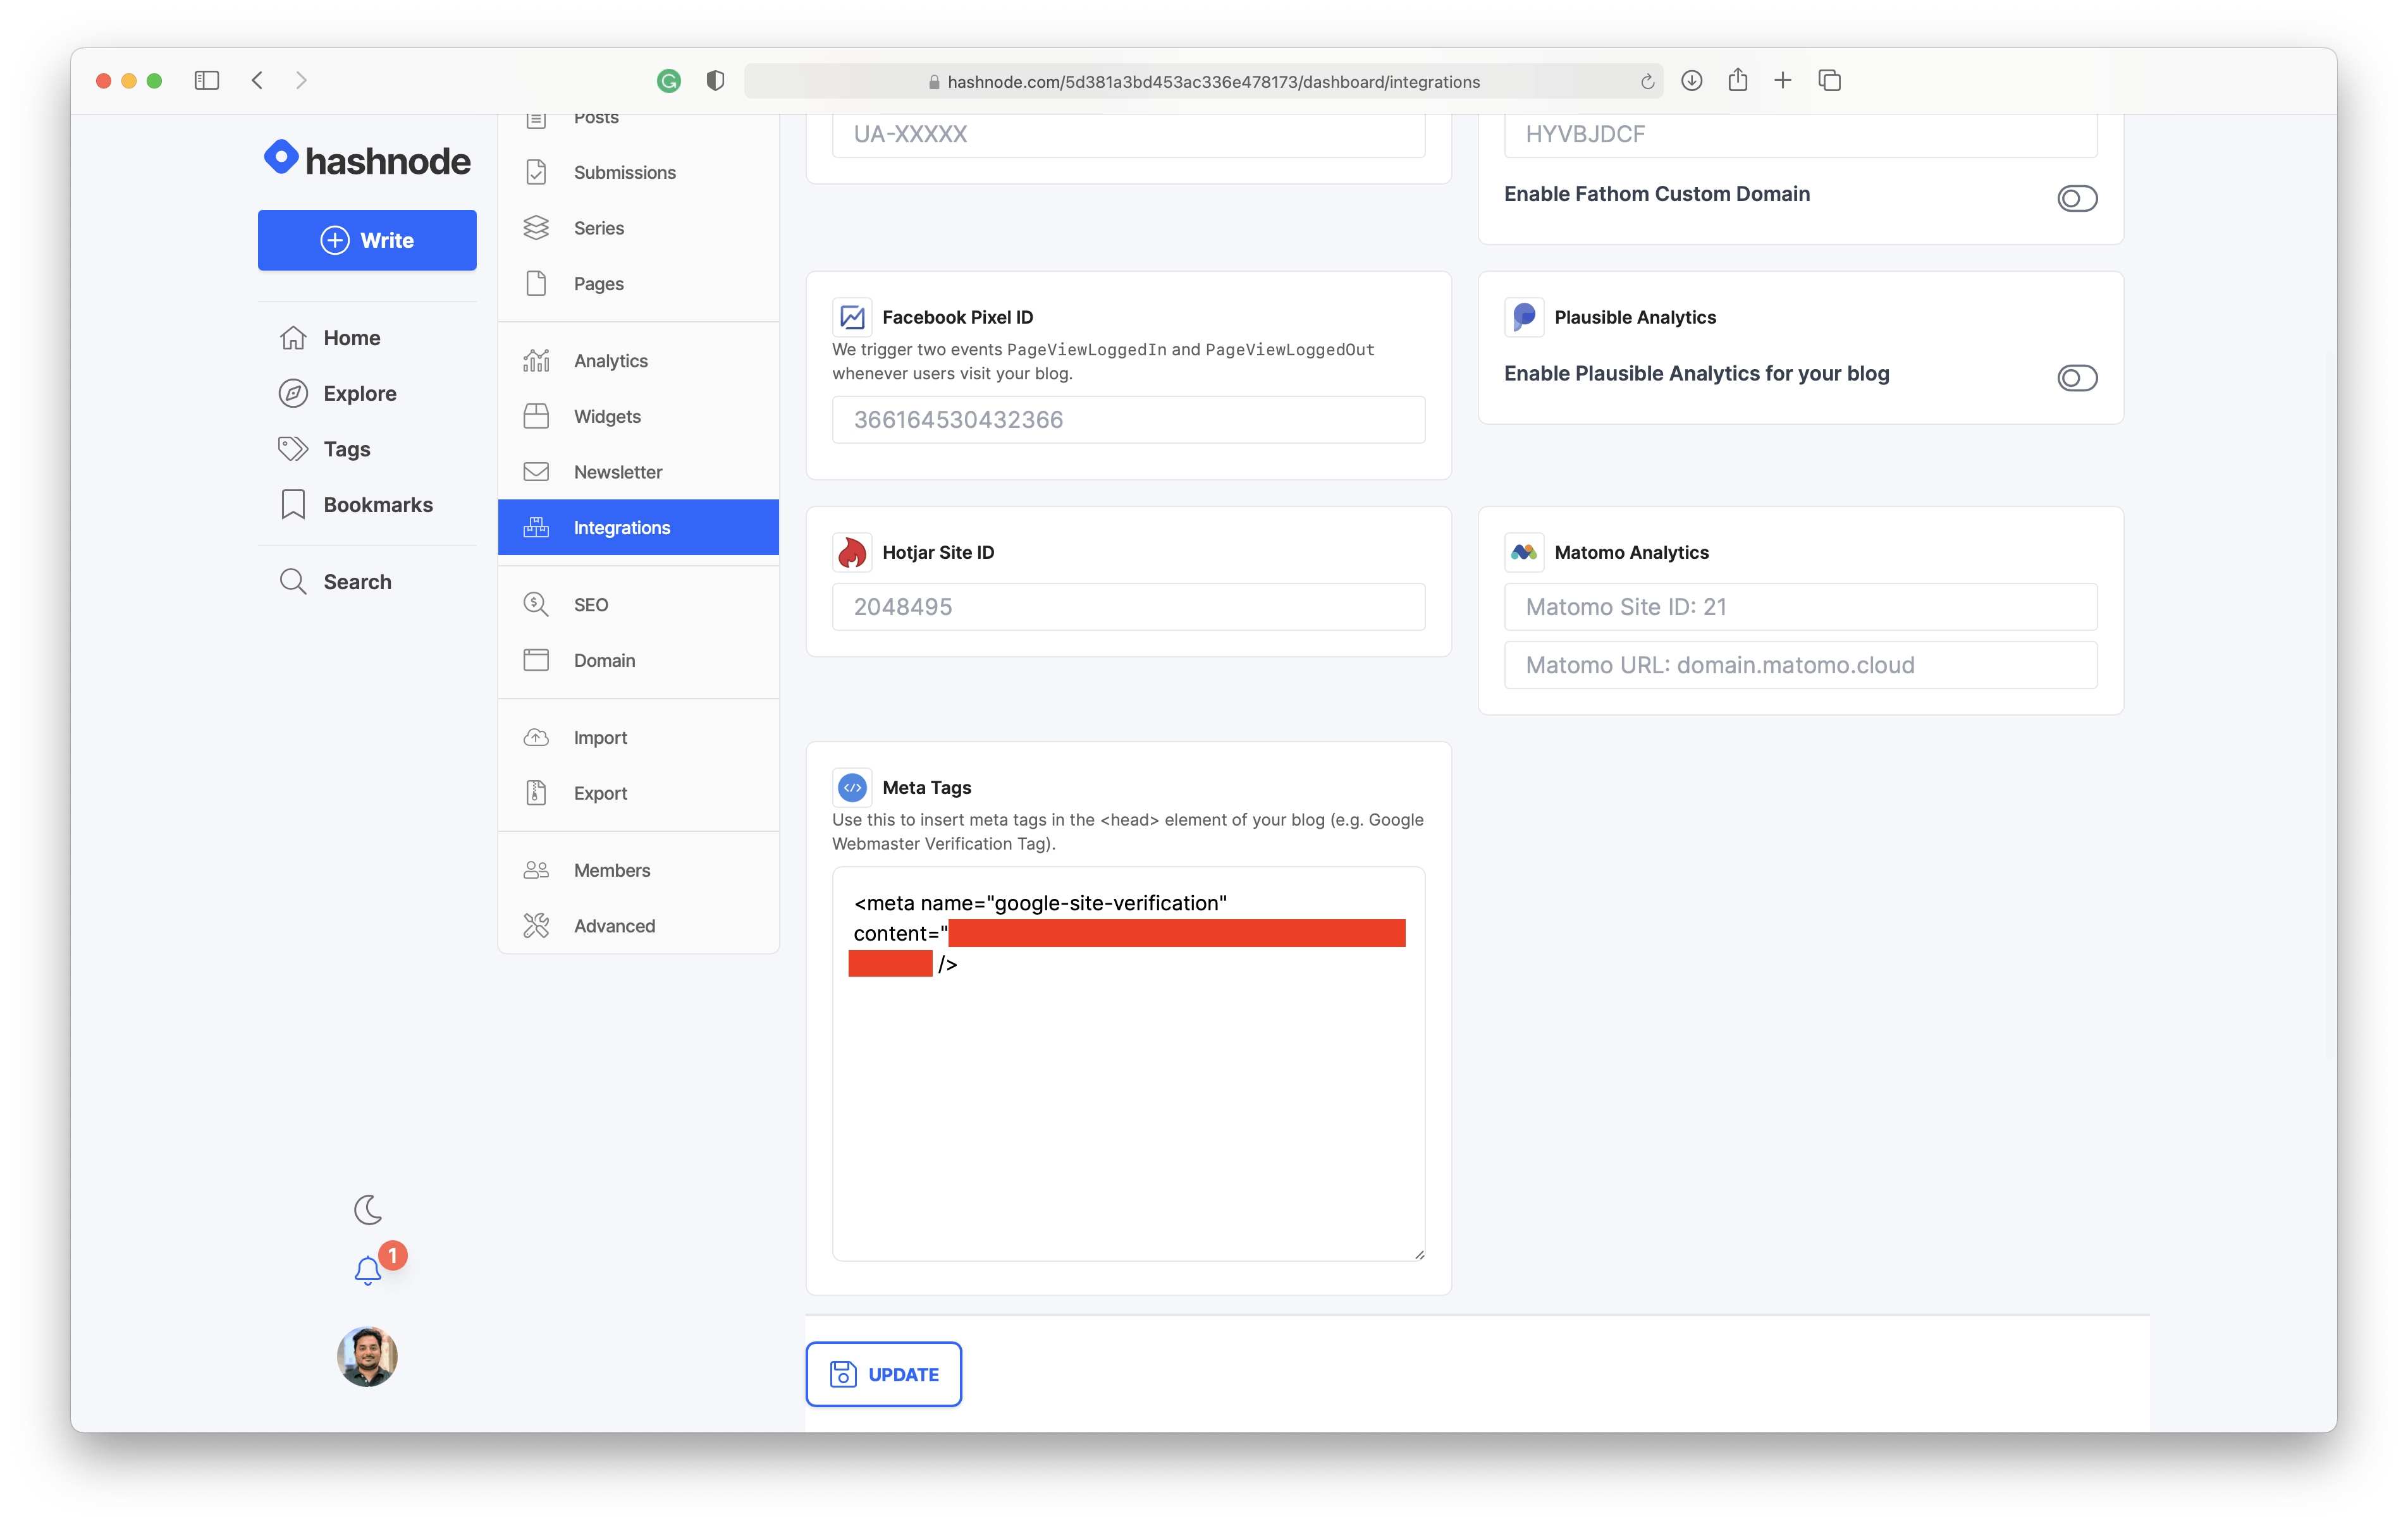
- Go to your Blog's dashboard.
- Navigate to the "Integration" tab and paste the HTML Tag inside the "Meta tags" field. Click on the "Update" button. This will clear the cache of your blog's homepage and insert the HTML tag provided by Google inside the
<head>tag of your blog.
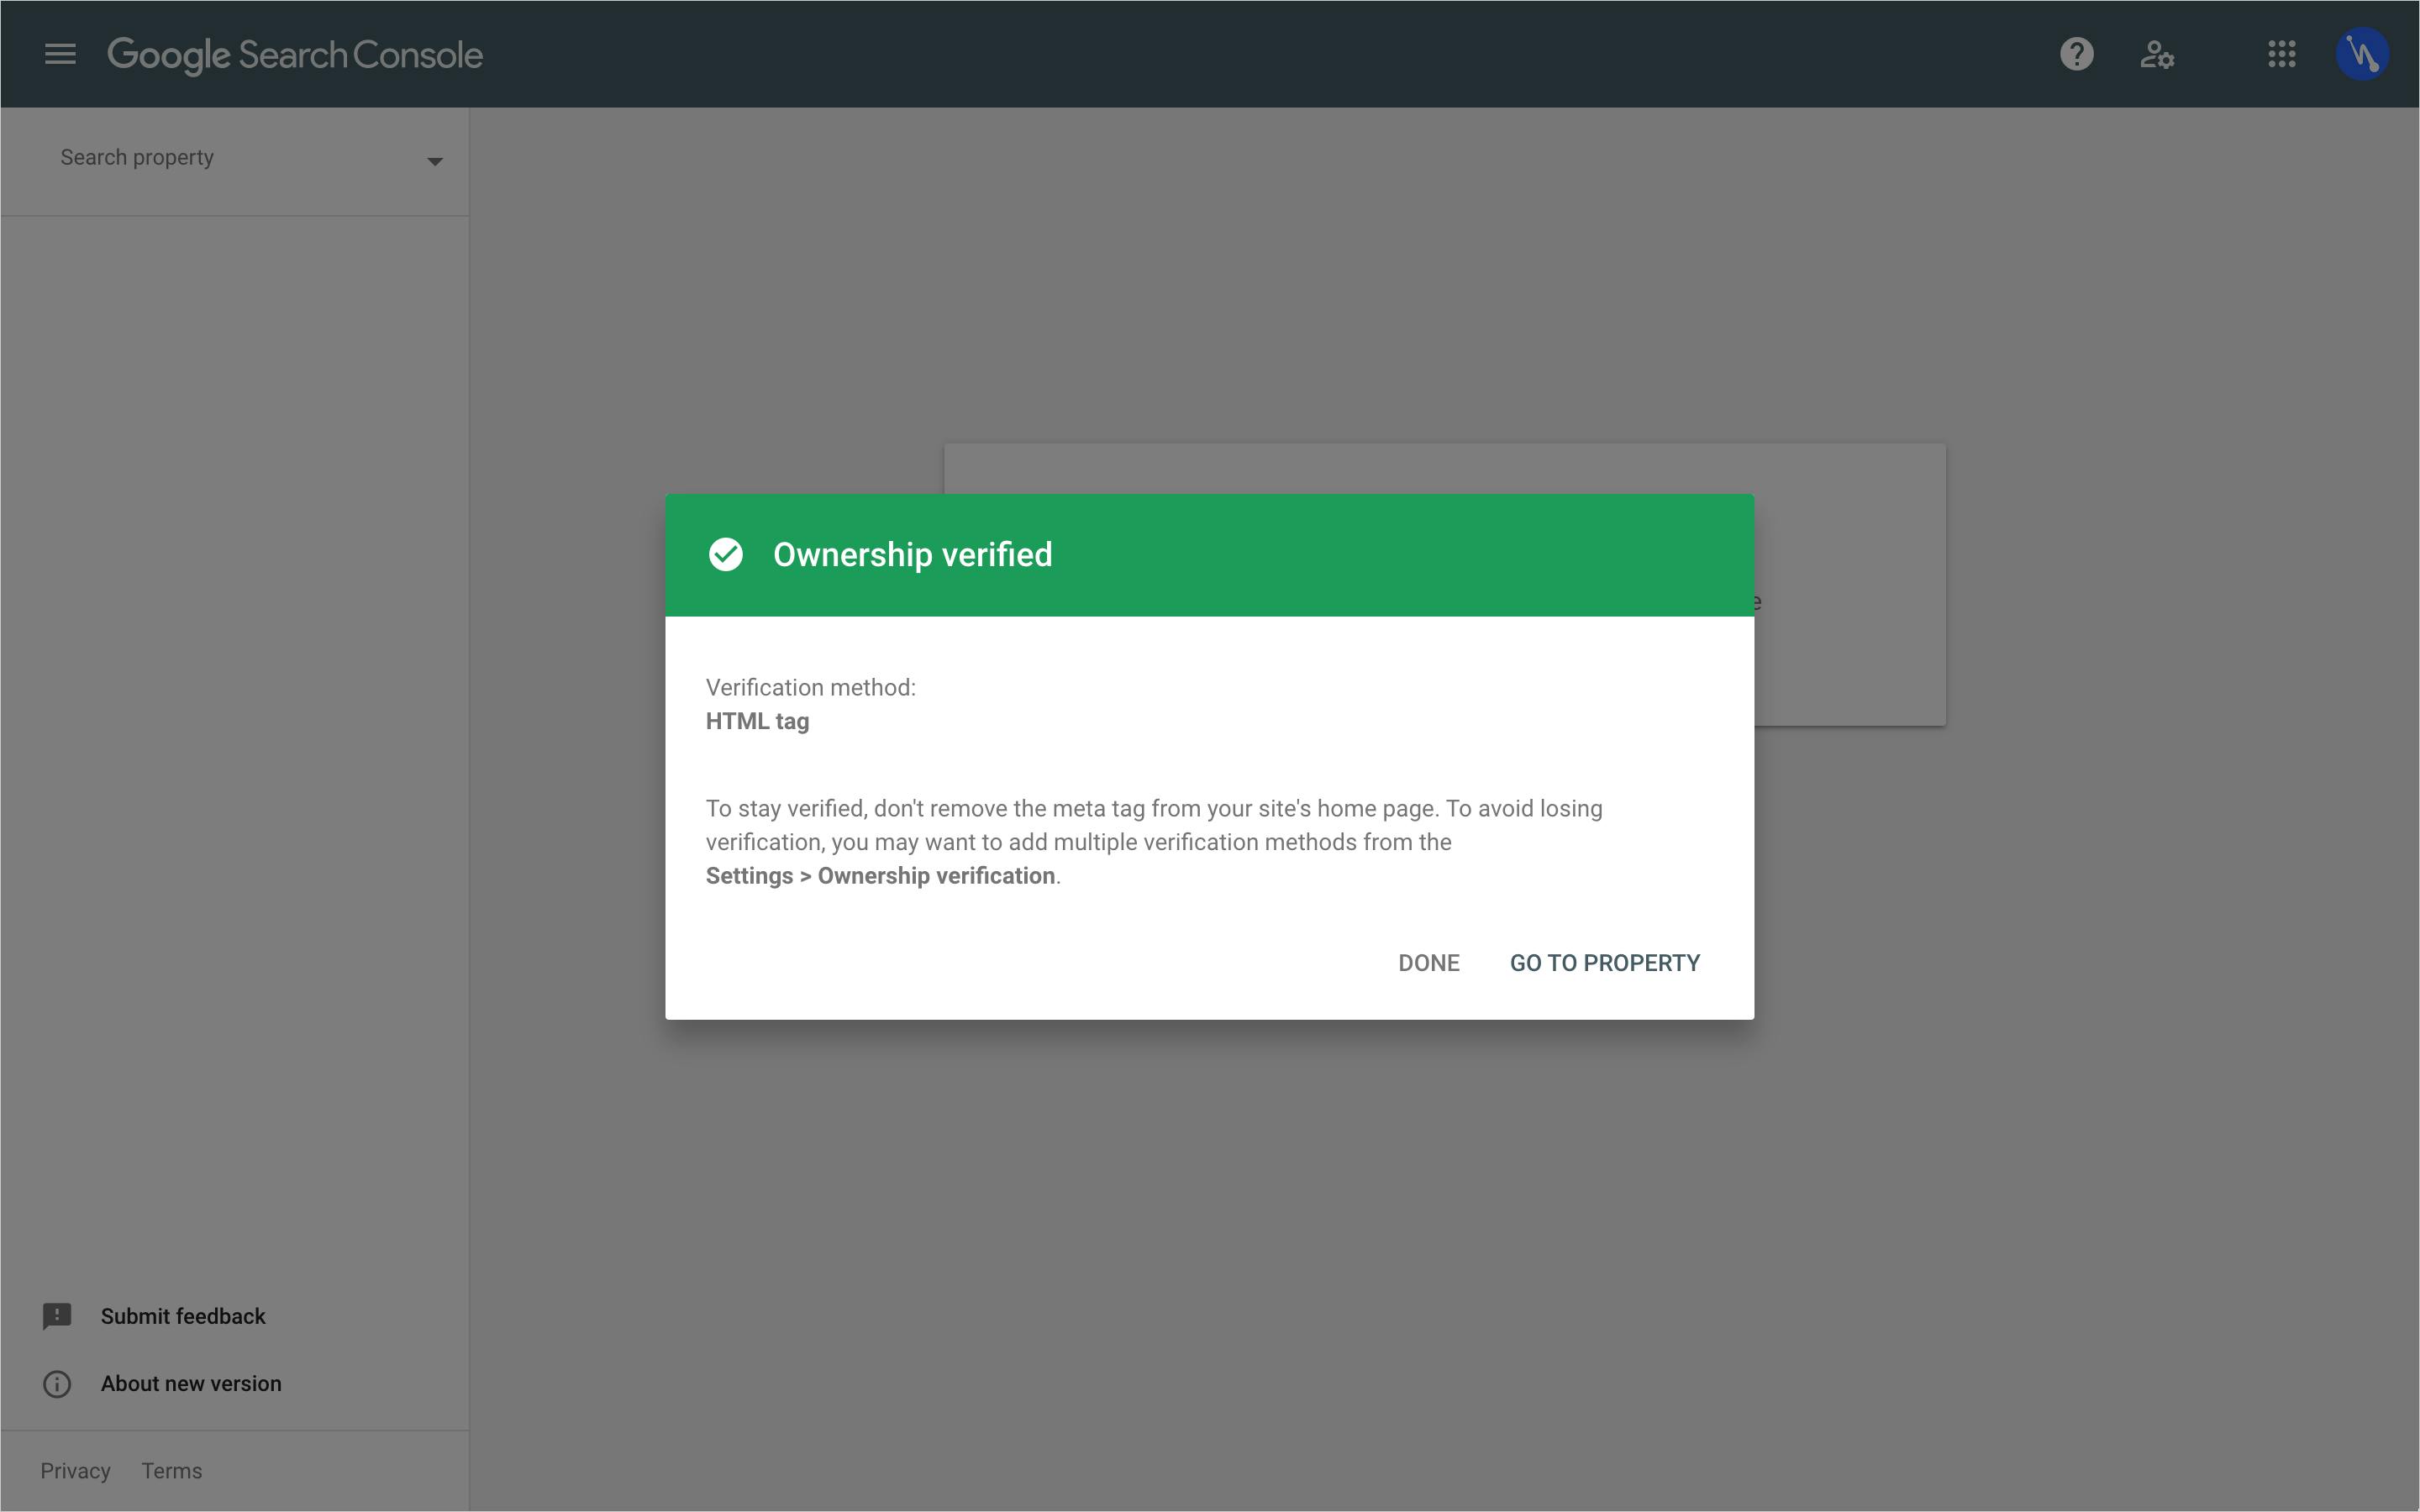
- Go back to Google Search Console and click on the "Verify" button. If you have followed the above steps correctly, Google should be able to find the meta tag and verify the domain.
- Now comes the part where we tell Google about the links present on your blog. Go to the Sitemap section present on the sidebar on Google Search Console.
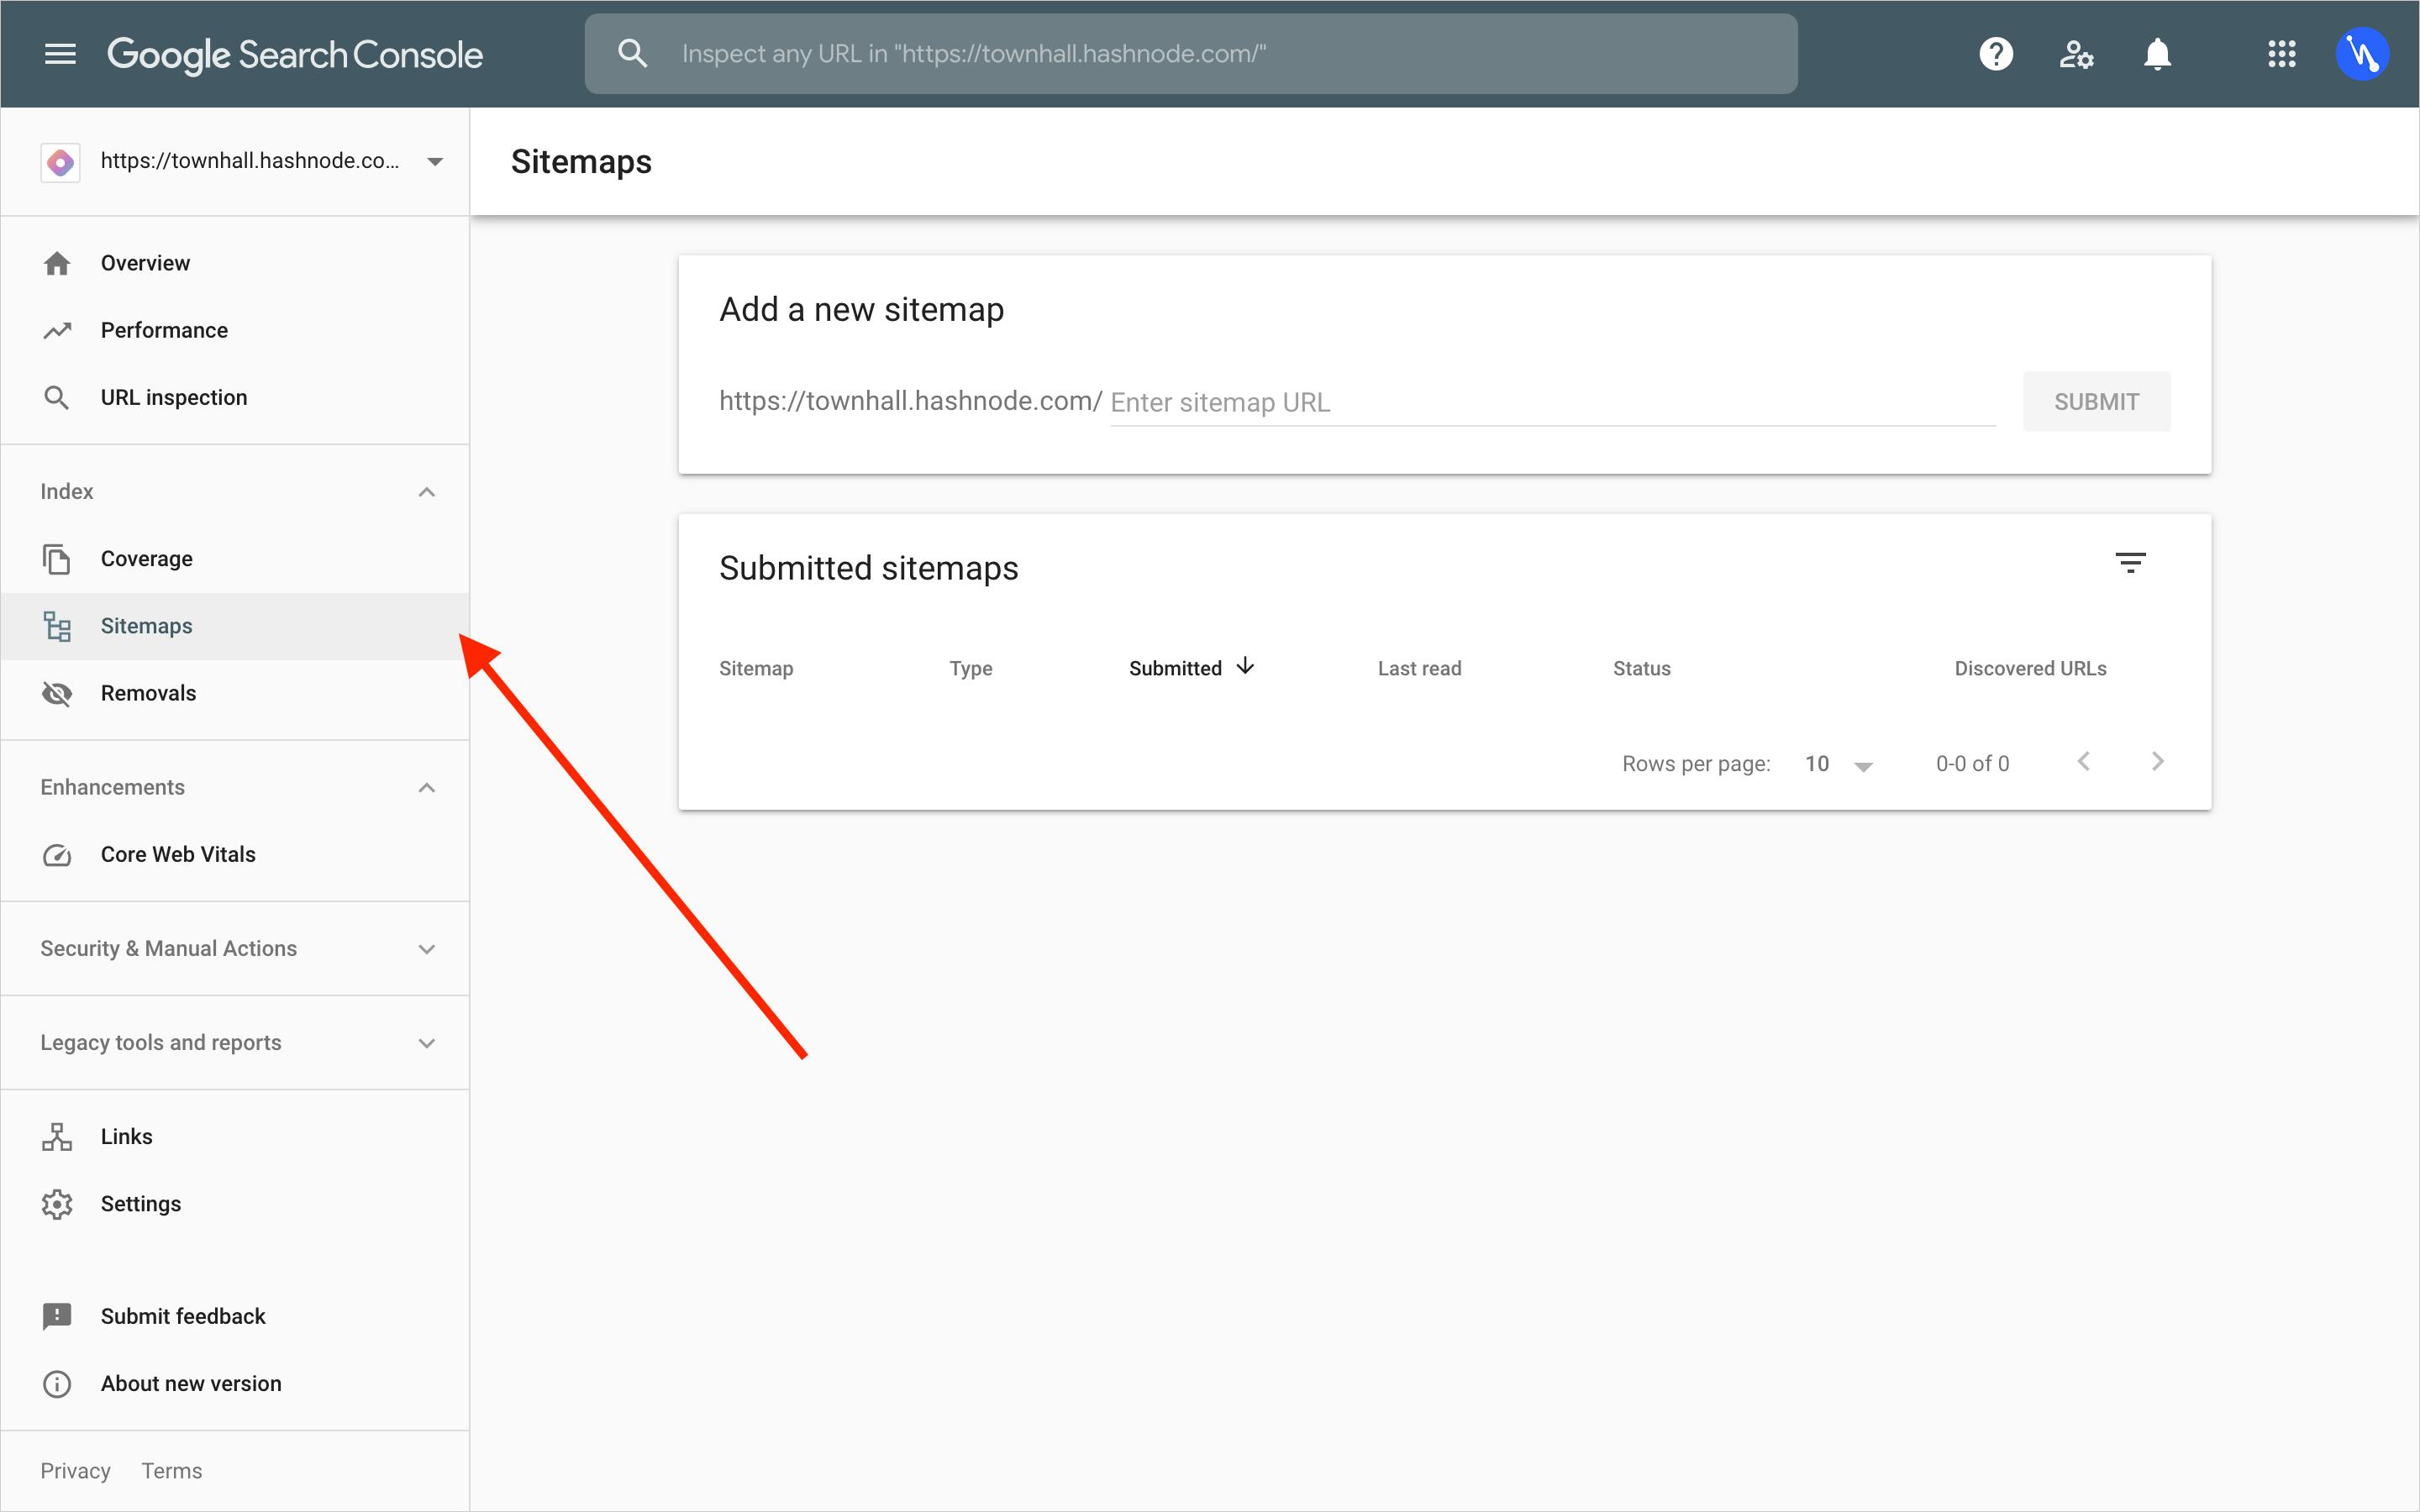
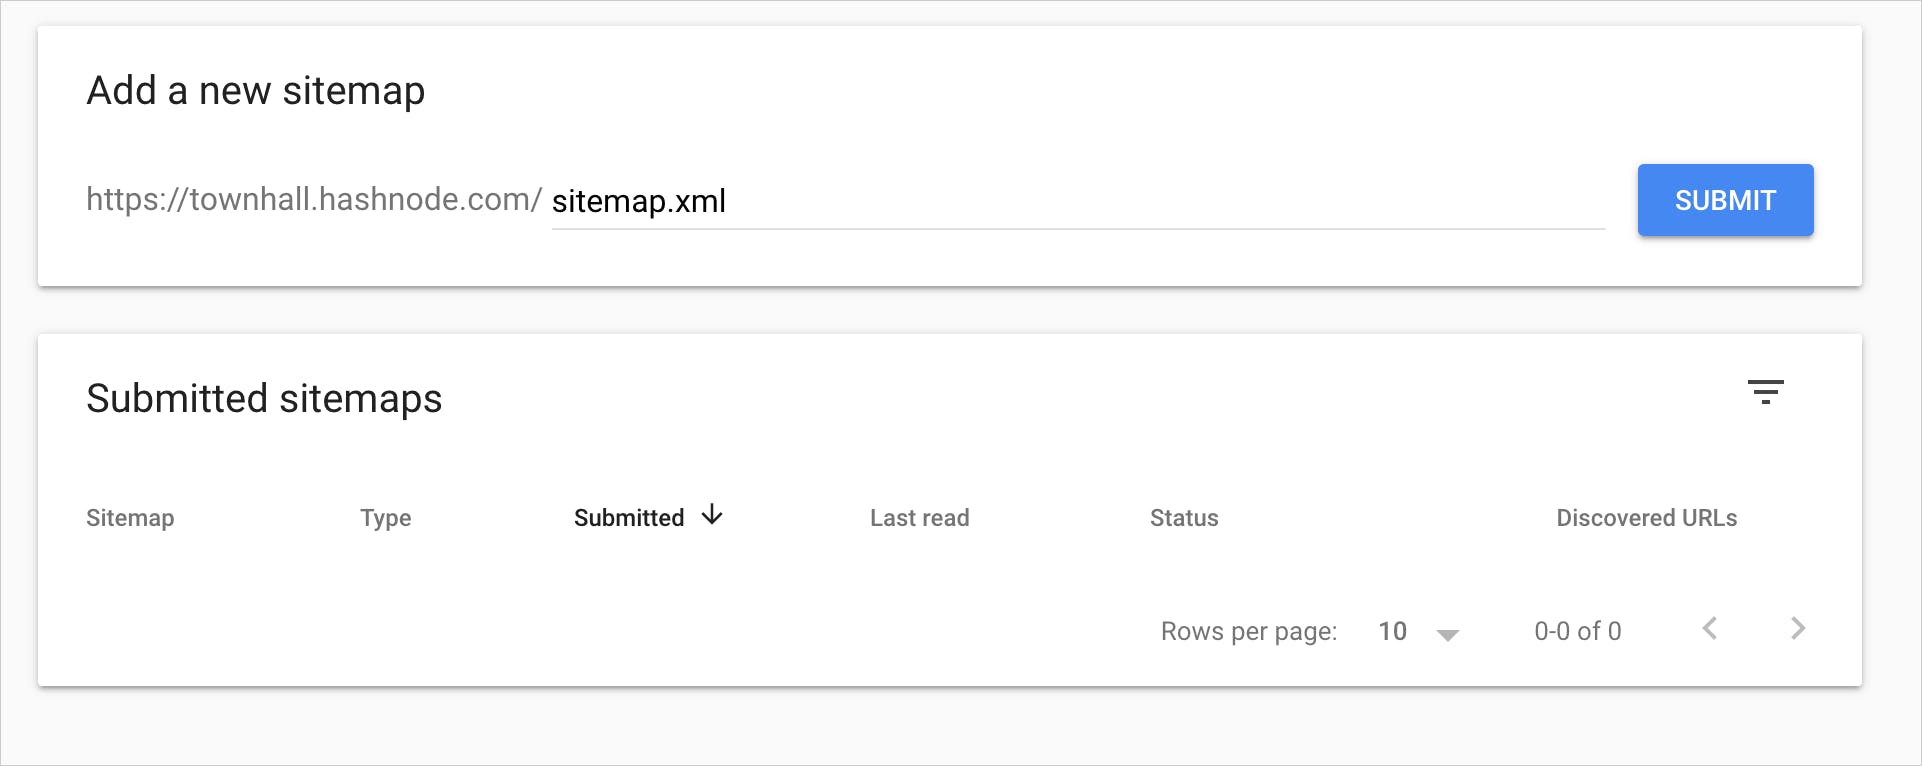
- Every blog on Hashnode has a sitemap, and it's available at
/sitemap.xml. For example townhall.hashnode.com/sitemap.xml. On the Google Search Console, entersitemap.xmlin the input field. Don't prepend the slash/. Google has already added that for you.
- On successful submission, you should see the following screen.
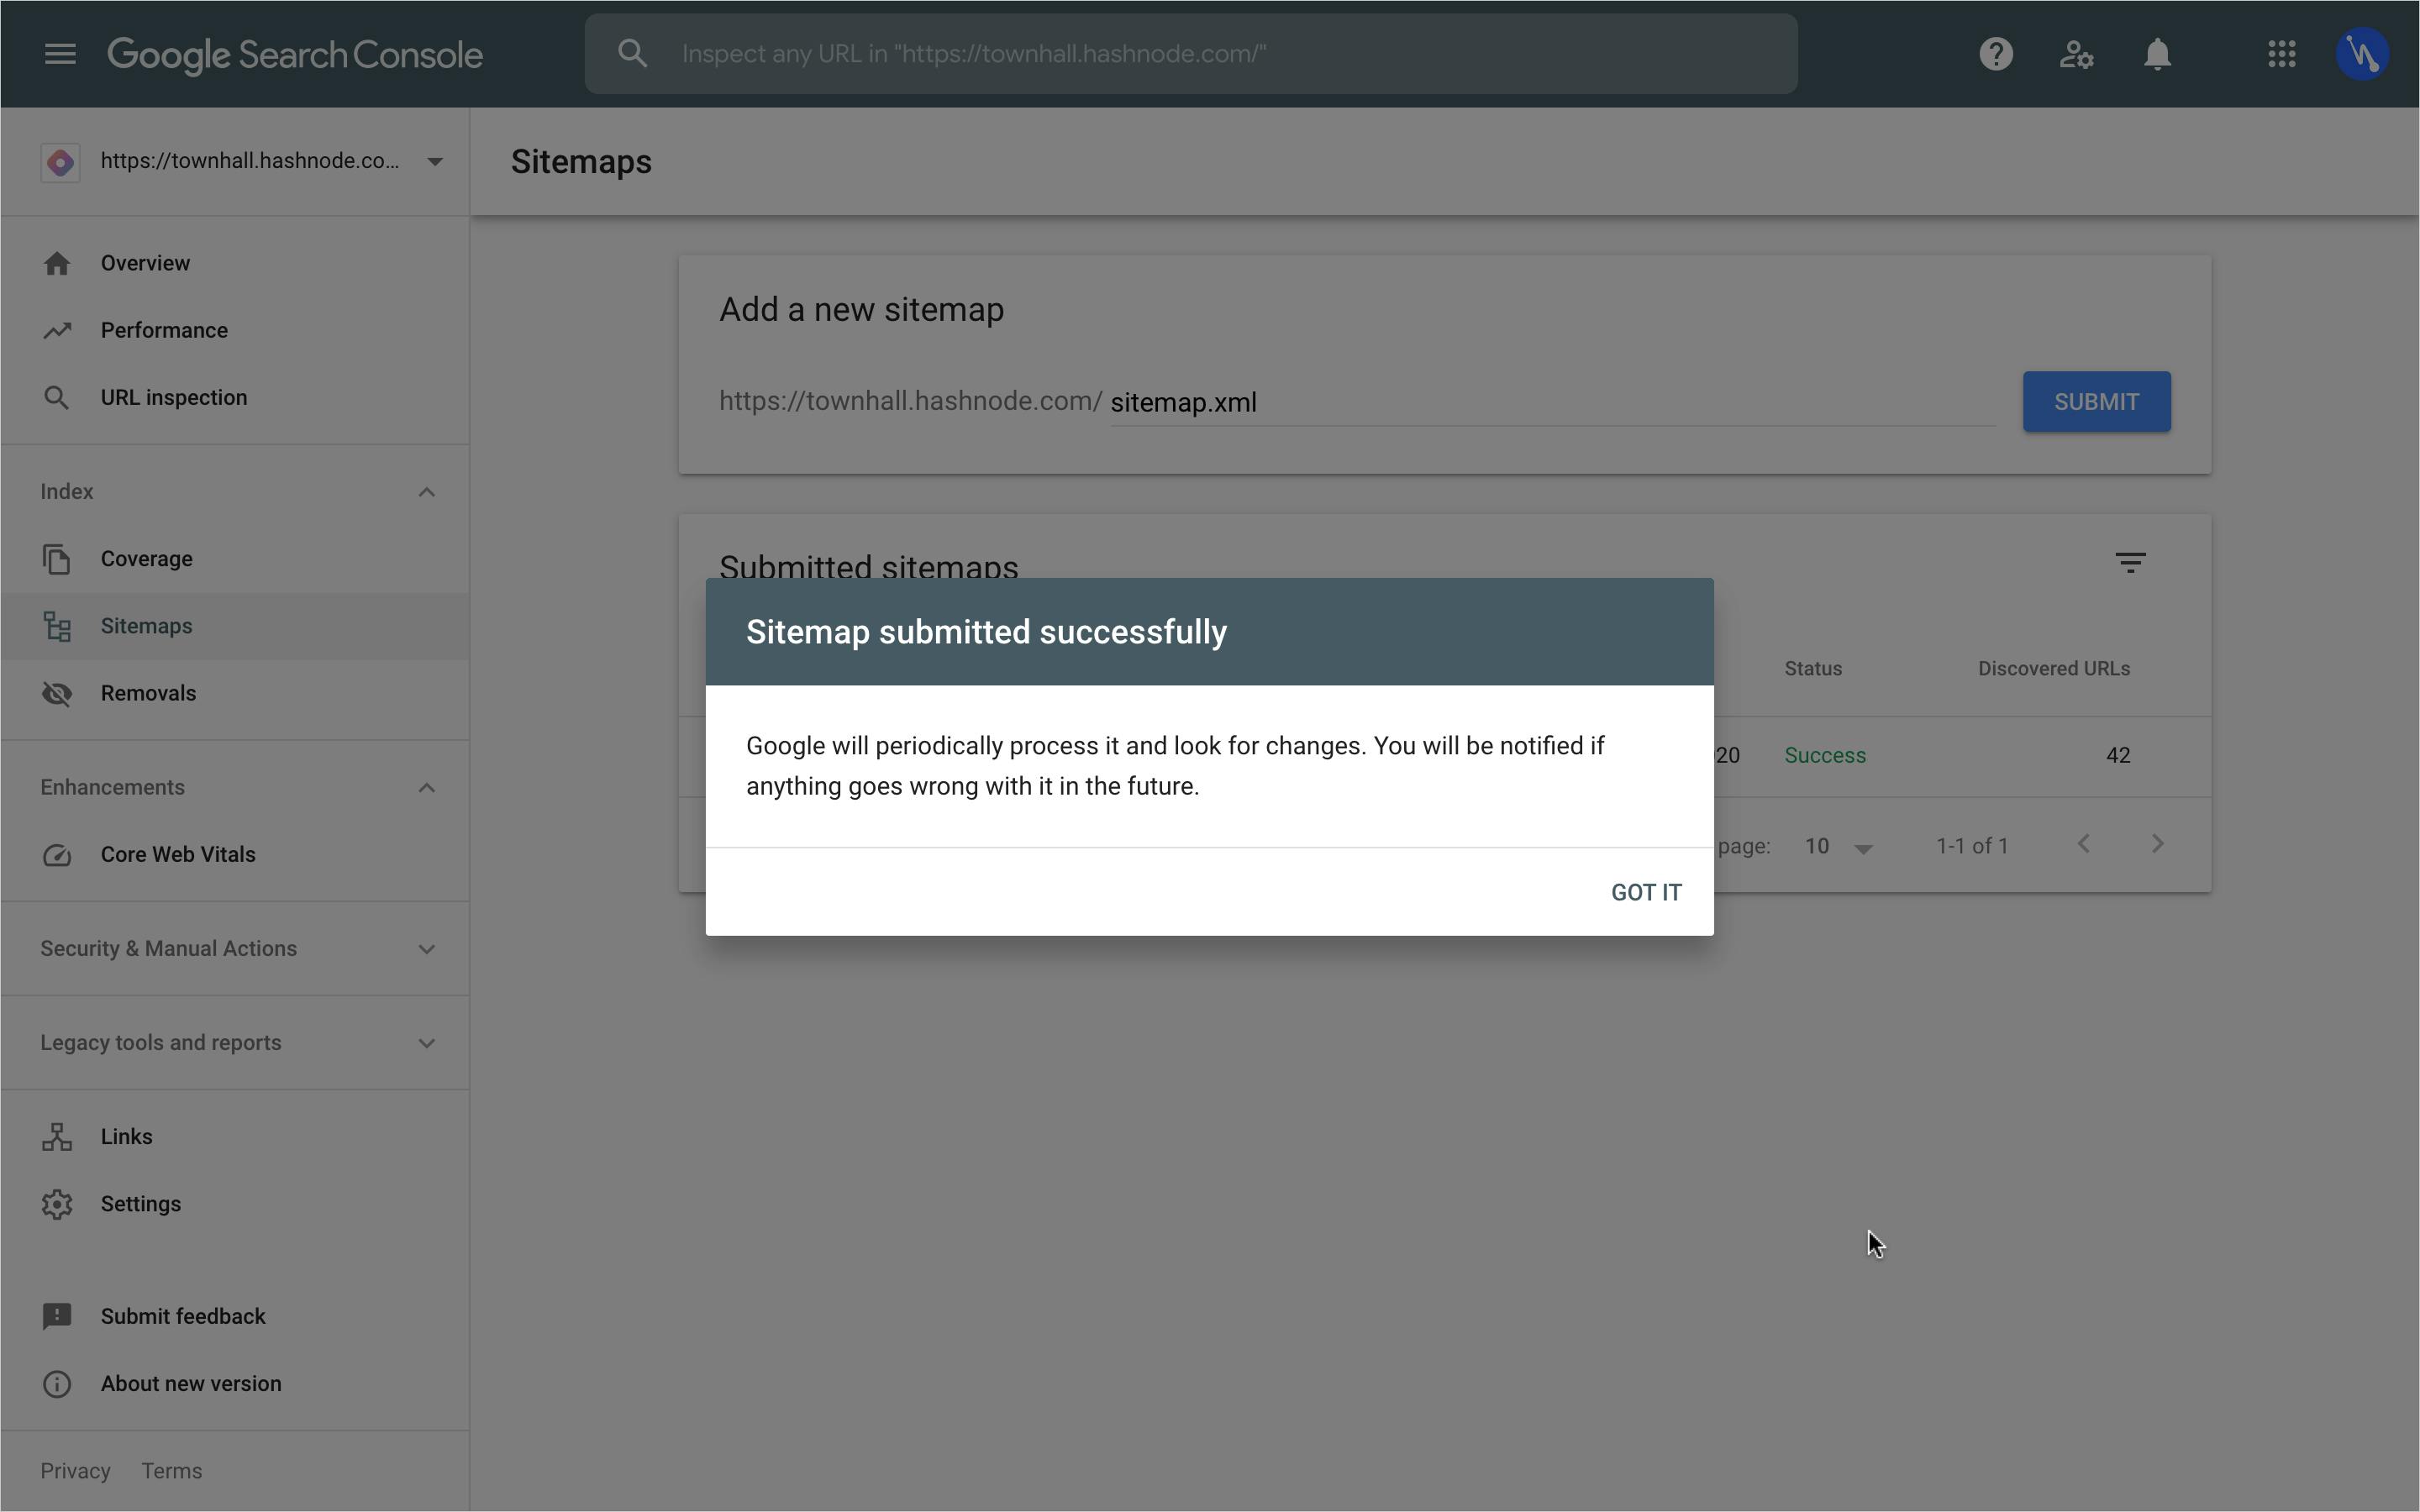 That's it! Google is now aware of your blog. It'll crawl your sitemap periodically and index your blog posts, even the future ones automatically.
Enable AMP on your Hashnode blog#
There's no denying that Google prefers AMP pages than normal web pages on mobile searches. Hence, you can improve your Hashnode Blog's ranking on mobile searches by enabling AMP on your blog. Follow these steps:
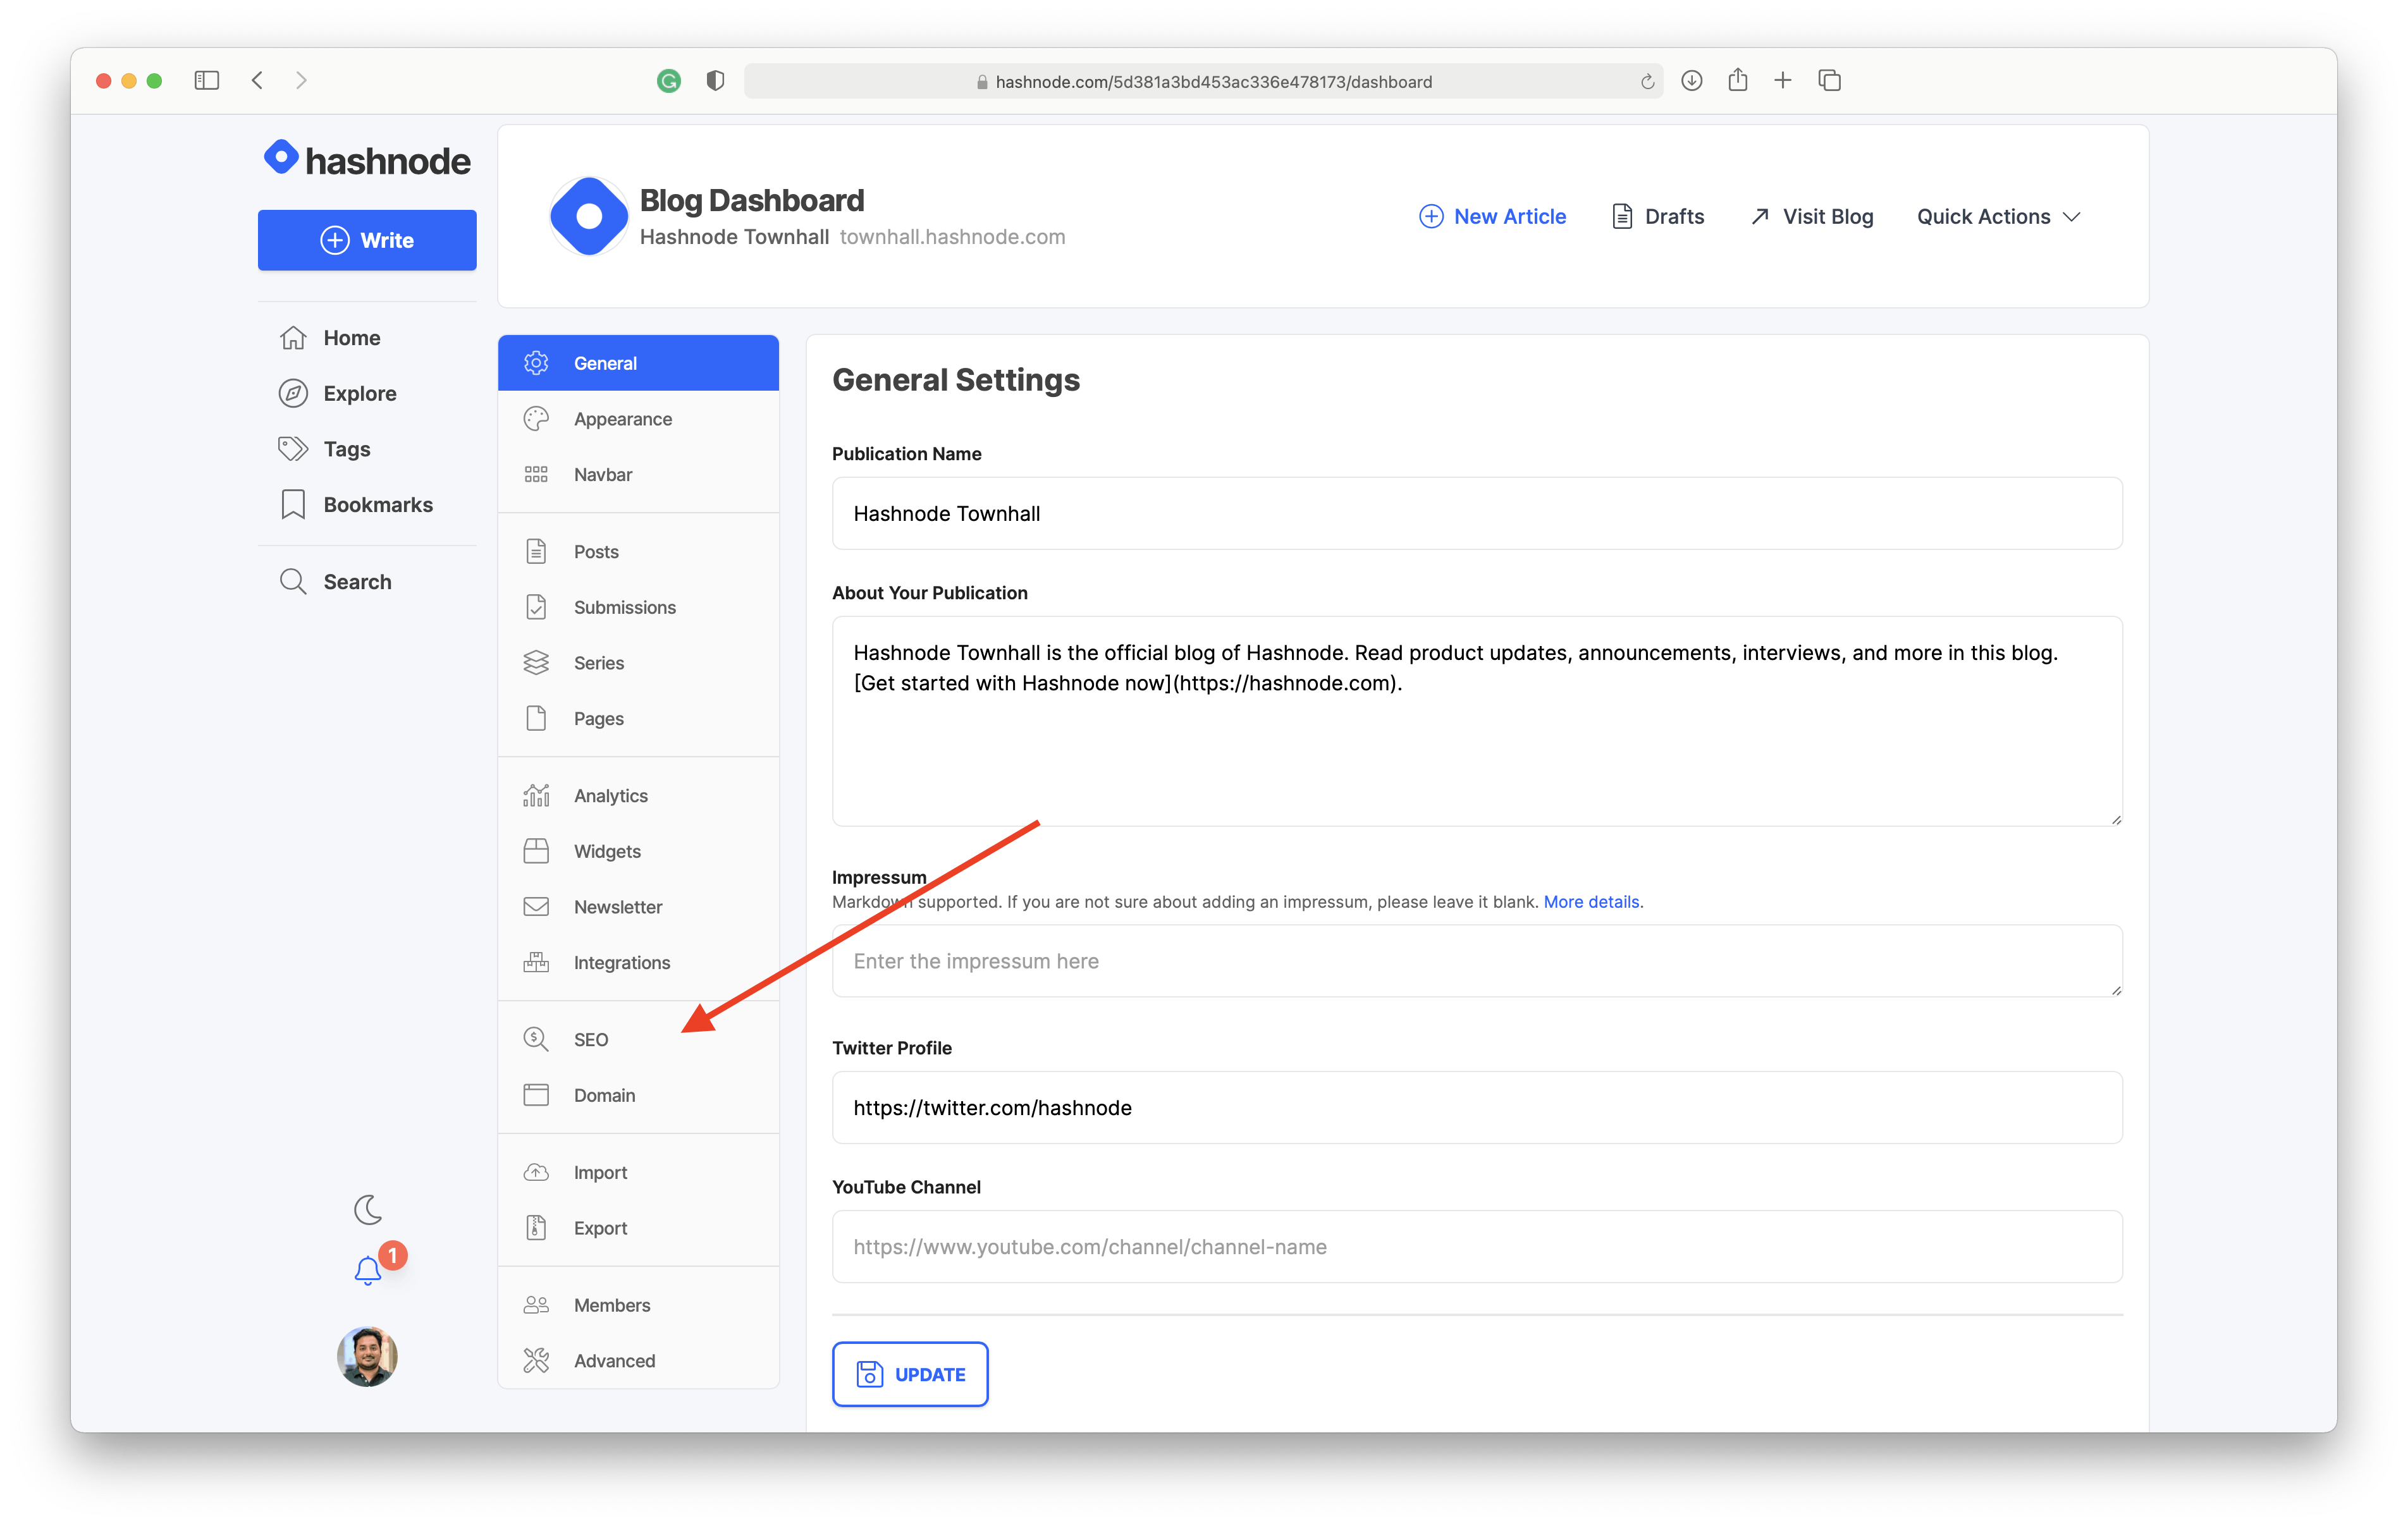
- Go to your Blog's dashboard
- Navigate to the "SEO" tab
- Scroll down and check the option "Enable AMP."
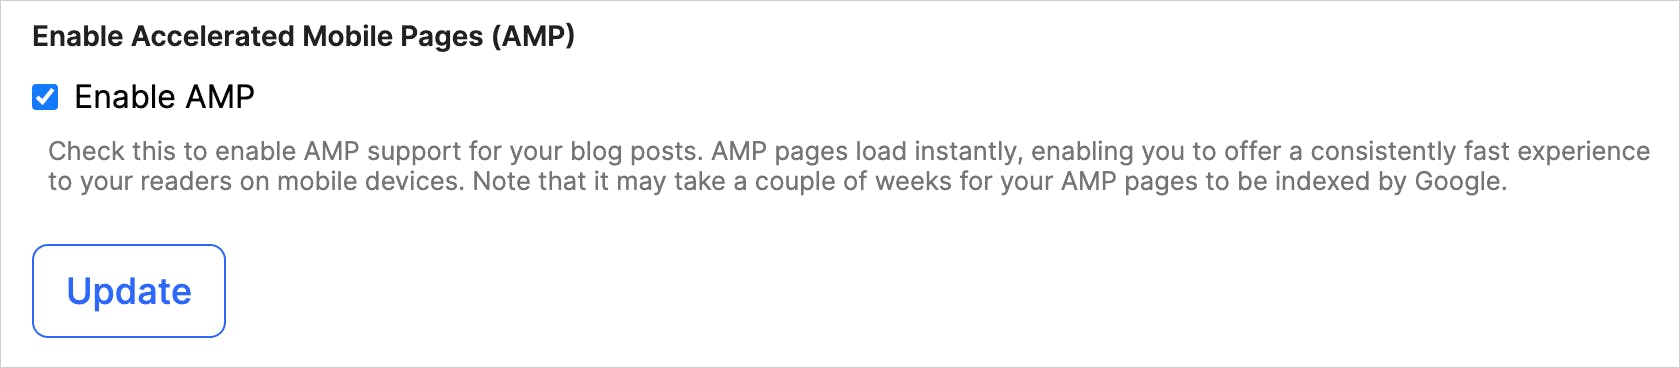
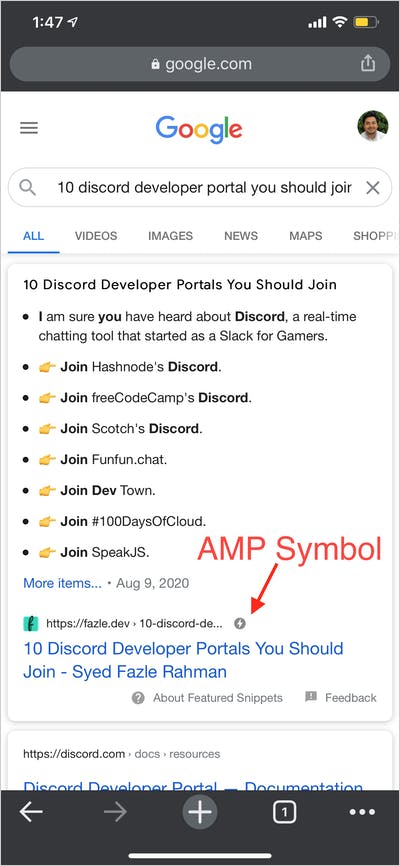
Google will take up to a day to validate AMP pages on your blog and replace your normal links with AMP pages for mobile searches automatically. Here's a snapshot of how my blog result looks like on Google search.
Link trail from your social media accounts#
Linking your blog from your social media accounts is another great way to tell Google about your blog.
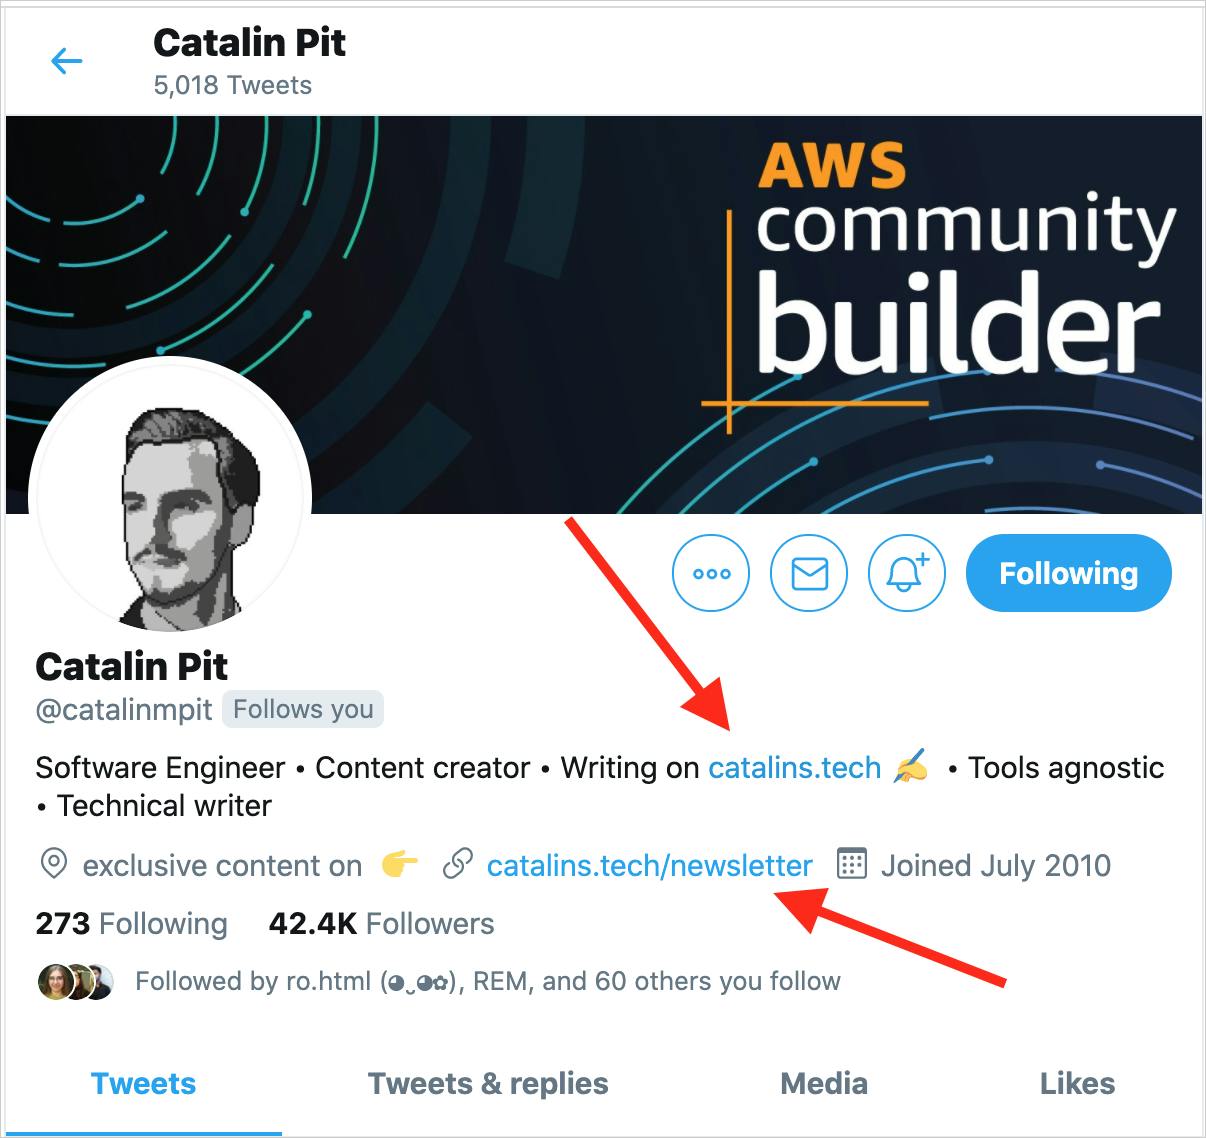
On Twitter, you can add a link in your bio and also inside the "Website" field. Refer to the screenshot below.
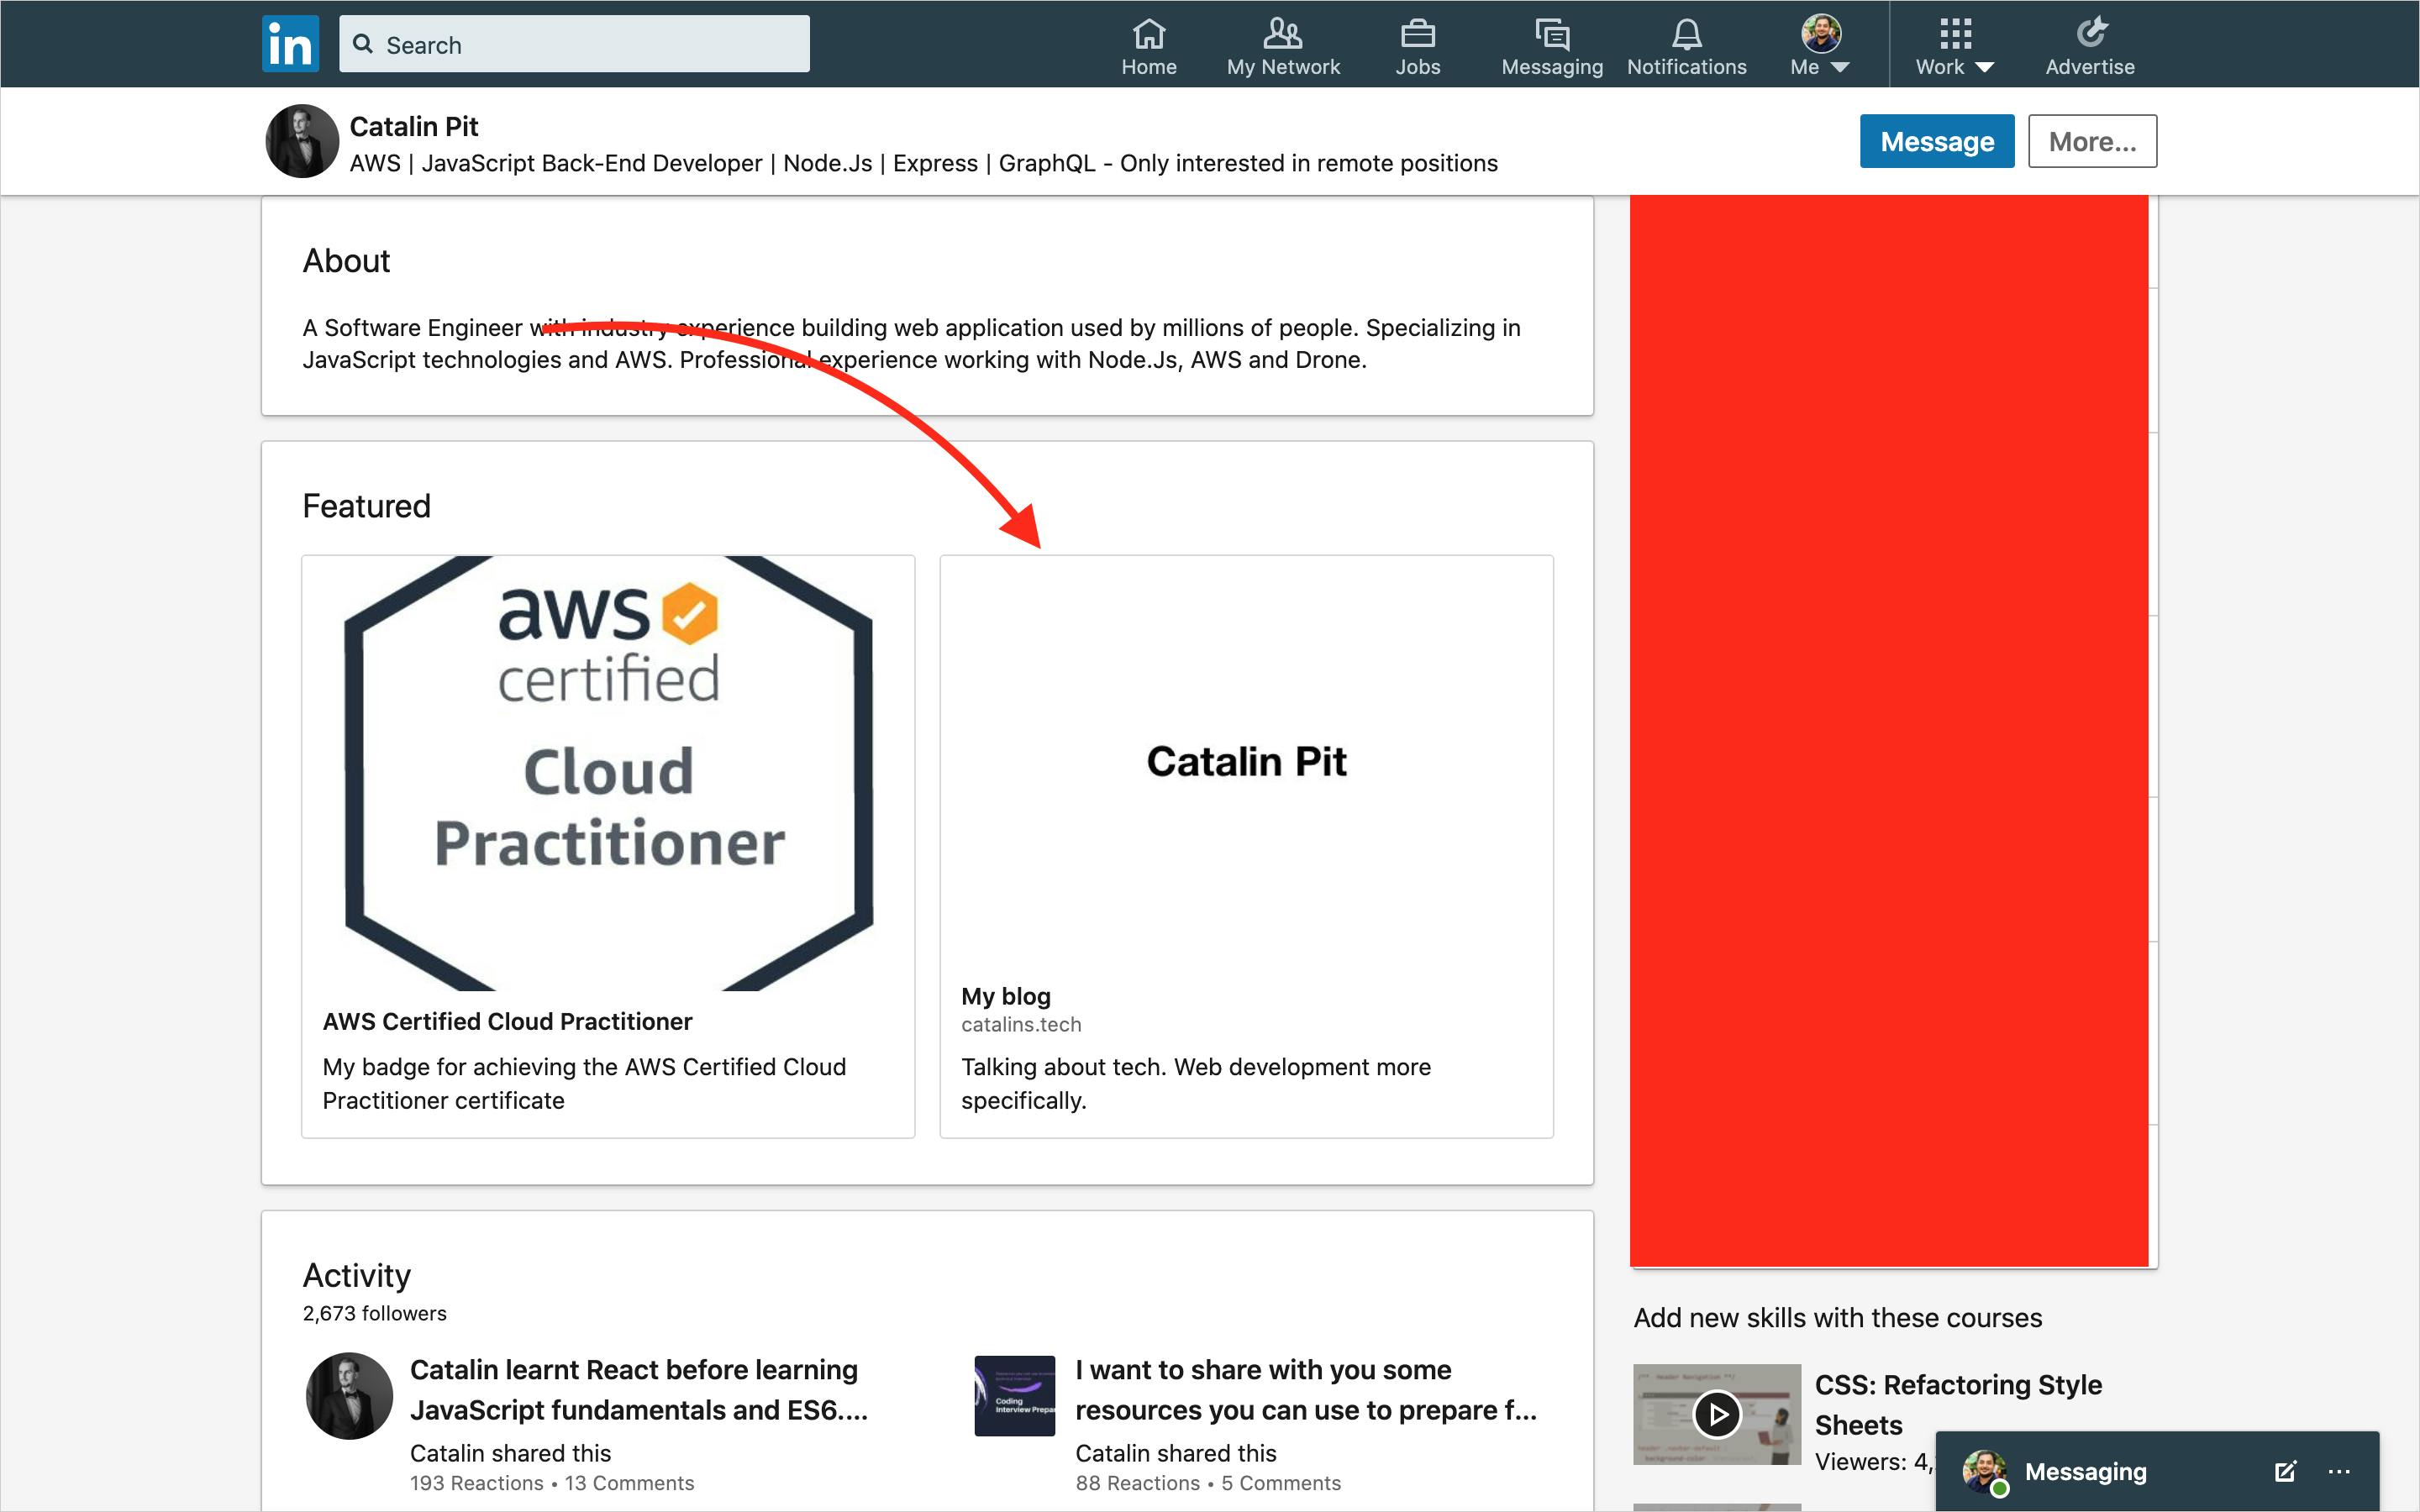
On Linkedin, you can add your blog to the featured section:
Similarly, you can link your blog from the bio section of Instagram and Facebook pages as well.